

Automatic Welcome Emails Playbook: How to Automate Your Welcome Emails Using Benchmark Email

Hooray, a new subscriber has joined your list! Now what?
Sending your new subscribers a welcome email is the perfect way to kick off your relationship with a new subscriber. But how do you create one? And how do you ensure each new subscriber gets a welcome email?
In this guide, we’ll walk you through the value of a welcome email and show you how to automate them using Benchmark Email so you can ensure your relationship with each new subscriber is off to a great start.
What is a Welcome Email?
A welcome email is the first email a new subscriber or customer receives from a company after signing up or making a purchase. It’s a type of transactional email that is automatically triggered by a specific action, such as a sign-up or a purchase. The purpose of a welcome email is to introduce the subscriber or customer to the company, confirm their subscription or purchase, and provide any necessary information or instructions.
A typical welcome email might include a thank you message for subscribing or making a purchase, a brief introduction to the company and its products or services, instructions on how to get started or access their purchase, and possibly a call to action to encourage further engagement or provide an incentive for future purchases.
Welcome emails can be an important part of a company’s email marketing strategy, as they can help set the tone for future communication and establish a positive relationship with subscribers or customers.
Why are Welcome Emails Valuable?
Welcome emails are important for several reasons:
- First impressions: Welcome emails are usually the first email that a subscriber receives from a company after signing up for their mailing list. It sets the tone for the rest of the email communication and can make a lasting impression on the subscriber. A well-crafted welcome email can help establish a positive relationship with the subscriber right from the start.
- Confirmation: A welcome email confirms to the subscriber that their sign-up was successful and that they are now part of the mailing list. This can help reduce the chances of subscribers forgetting that they signed up or mistaking the email for spam.
- Engagement: Welcome emails can be used to engage subscribers and encourage them to take action. For example, a welcome email could include a discount code or a link to an exclusive piece of content. This can help incentivize subscribers to stay engaged with the company’s email communication.
- Branding: A welcome email provides an opportunity for the company to reinforce its branding and messaging. It can help subscribers understand what the company stands for and what they can expect from future email communication.
Why You Should Automate Your Welcome Emails
Aside from the fact that you’re a busy person, automating your welcome emails offers you a ton of conveniences. It would be impossible to keep track of every new email subscriber you get, so you can manually send them an email, welcoming them to your brand and providing them with personalized offers and incentives.
That’s why email automation is a Godsend. Automating your welcome emails is a great idea for several reasons:
Consistency
When you automate your welcome emails, you ensure that every new subscriber or customer receives a message, no matter when they sign up or make a purchase. This can help establish consistency and reinforce your brand messaging.
Efficiency
Automating your welcome emails can save you time and resources. Instead of manually sending out individual welcome emails, you can set up an automated workflow that sends out the email as soon as a new subscriber or customer takes the necessary action.
Personalization
Many email marketing platforms allow you to personalize your welcome emails with the subscriber’s or customer’s name, purchase information, or other relevant details. This can help make the welcome email feel more personal and relevant, which can lead to higher engagement and conversions.
Timing
By automating your welcome emails, you can ensure that they are sent out at the optimal time. For example, you can set up the email to be sent immediately after the subscriber signs up or makes a purchase when they are most engaged with your brand.
Overall, automating your welcome emails can help you establish consistency, efficiency, personalization, and optimal timing in your email marketing strategy. This can lead to higher engagement, conversions, and, ultimately, revenue for your business.
How to Automate Your Welcome Emails Using Benchmark Email
Automating your welcome emails is a process, but with Benchmark Email, the process is a sinch. Here’s how to use our tool to ensure every new subscriber is greeted with a welcome email that gets your relationship started off on the right foot.
1. Build a Subscriber Form
Log in to your Benchmark Email account.
Click on “Contacts” at the top left corner of the dashboard, then select “Signup Forms.” Then, select “Create New Signup Form.”
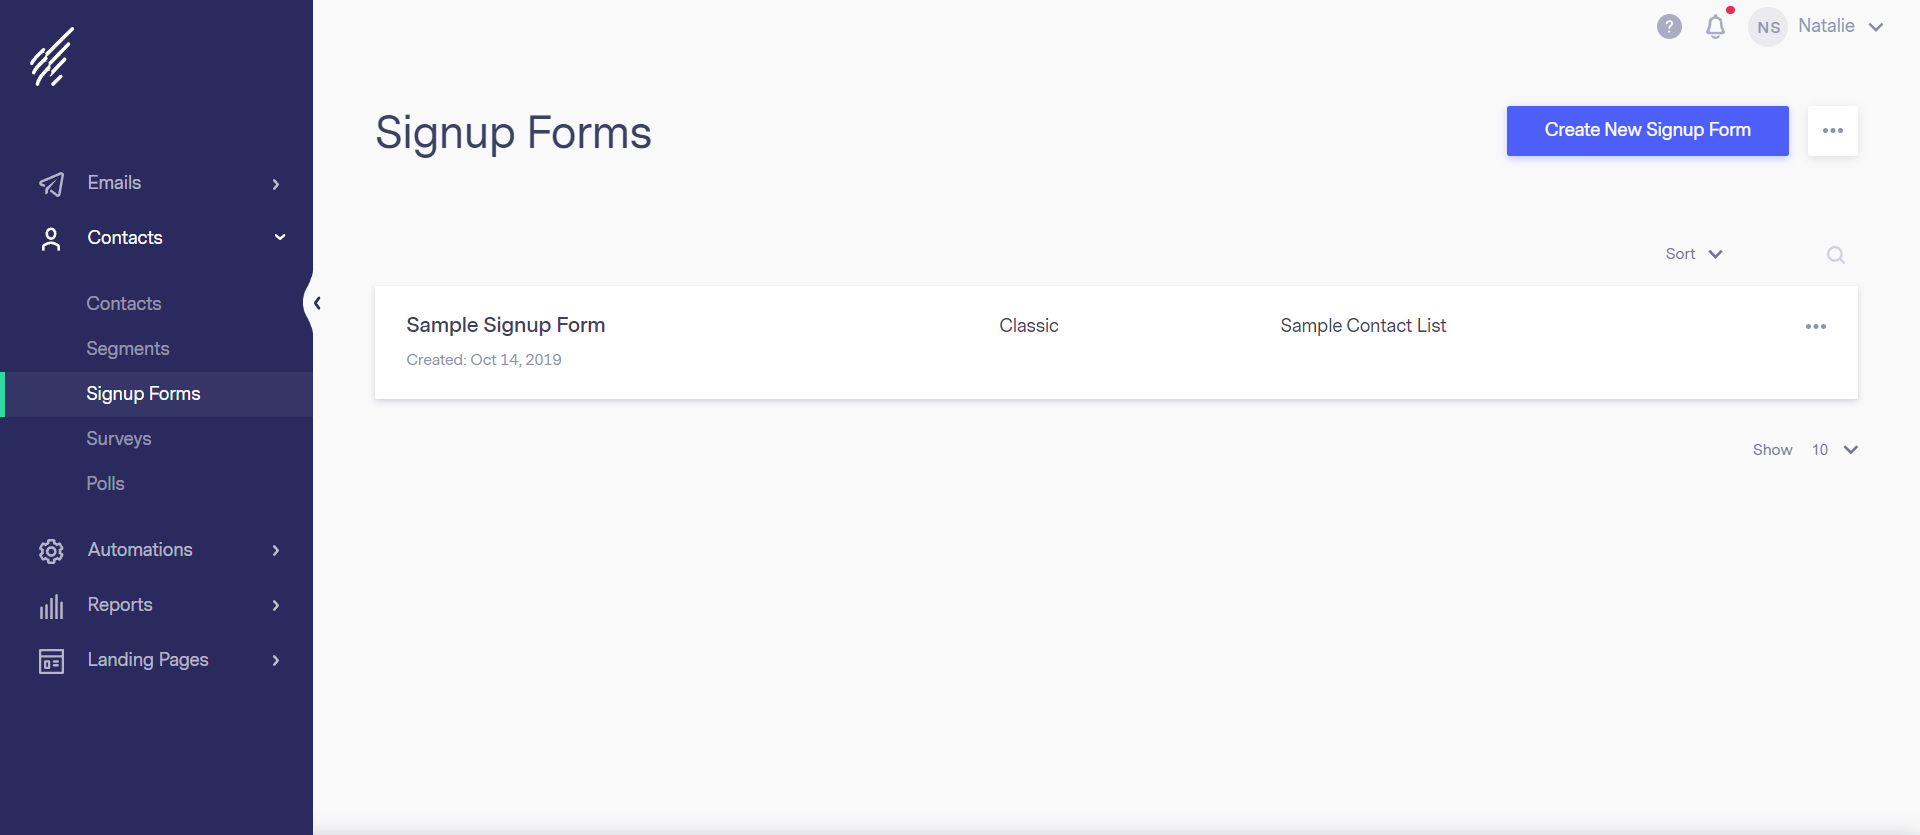
Choose the type of form you want to create. Benchmark Email offers embedded forms, popup forms, or small embedded forms.

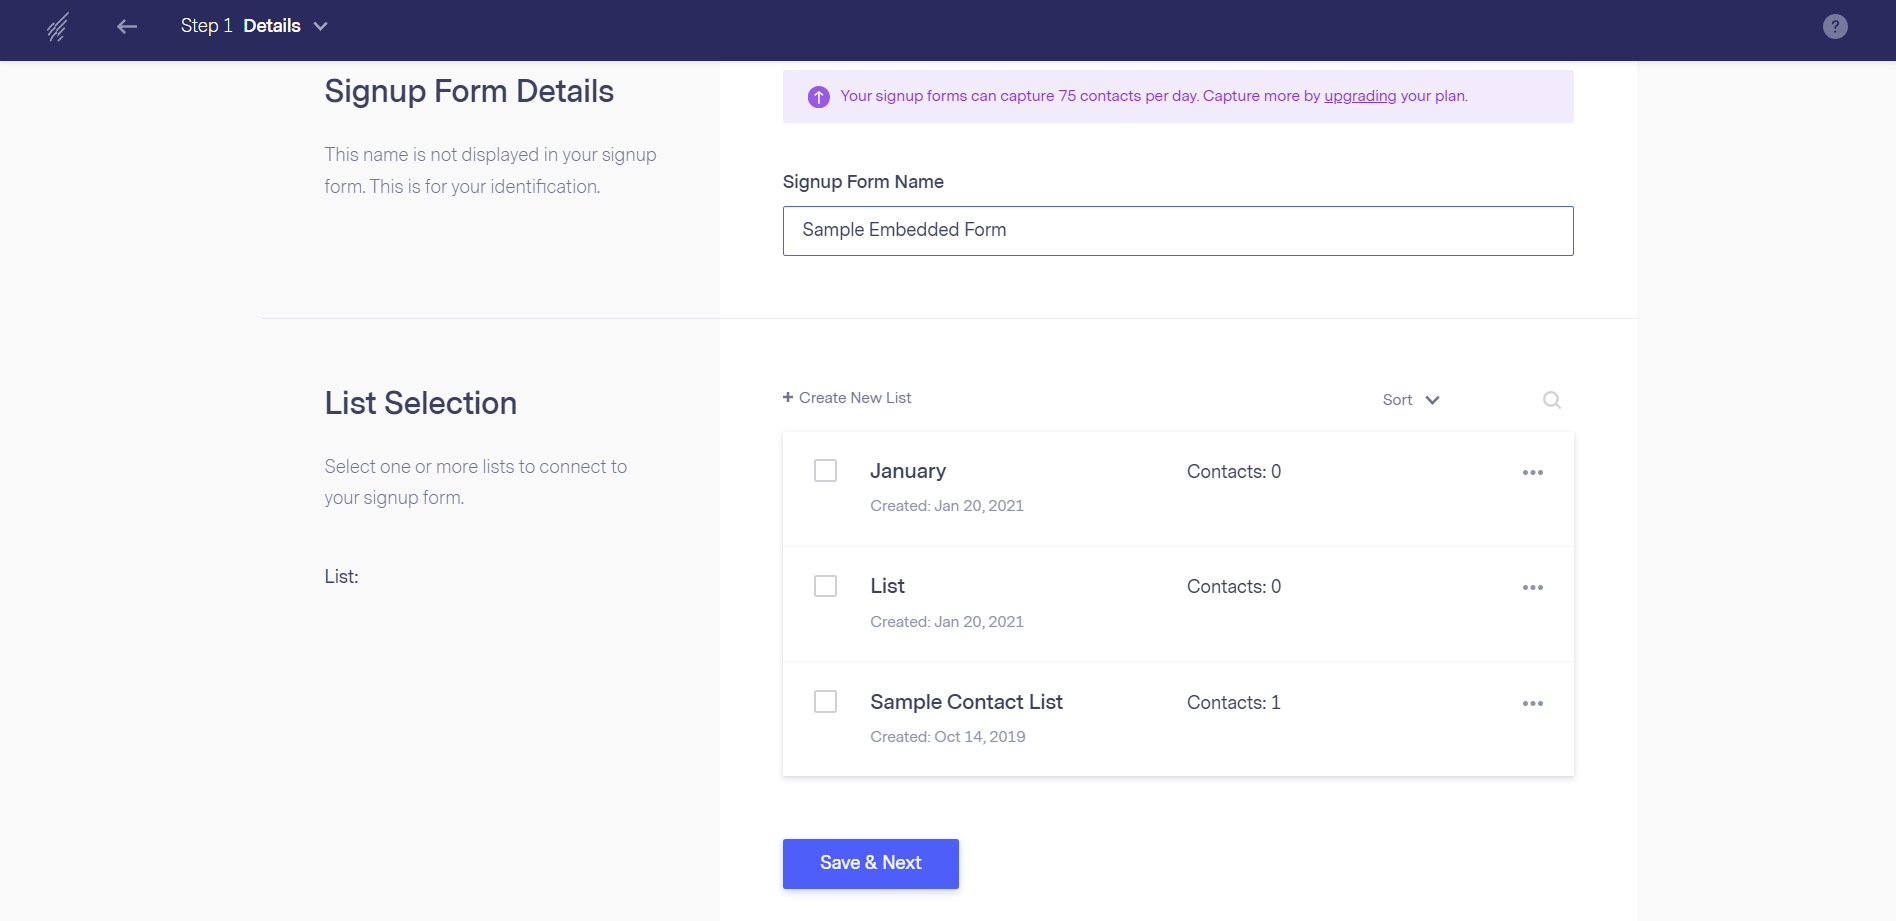
Name your list and either designate a list to the form or create a new list to tie to the form. This list will capture those that fill out the form.
Customize the form by adding fields, changing colors, and adding images or text. You can also choose to enable double opt-in or customize the confirmation message subscribers receive after signing up.
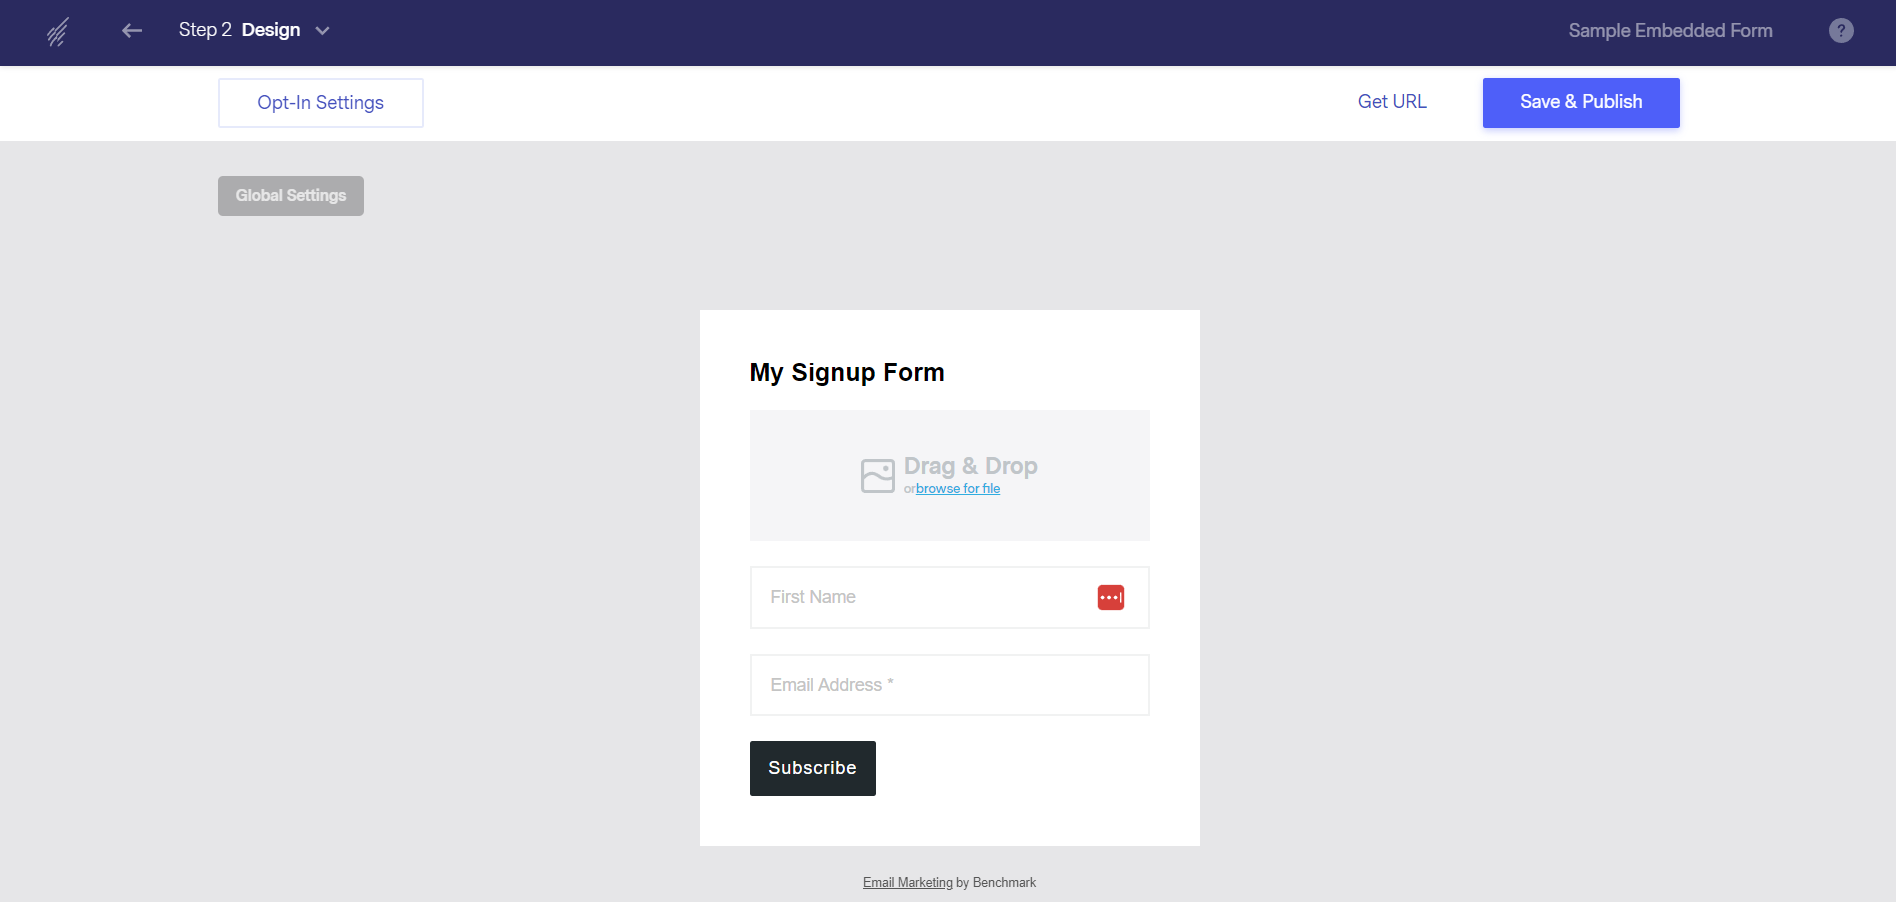
Preview the form to make sure it looks the way you want it to.
Once you’re satisfied with the form, click the “Save & Publish” button to make it live.
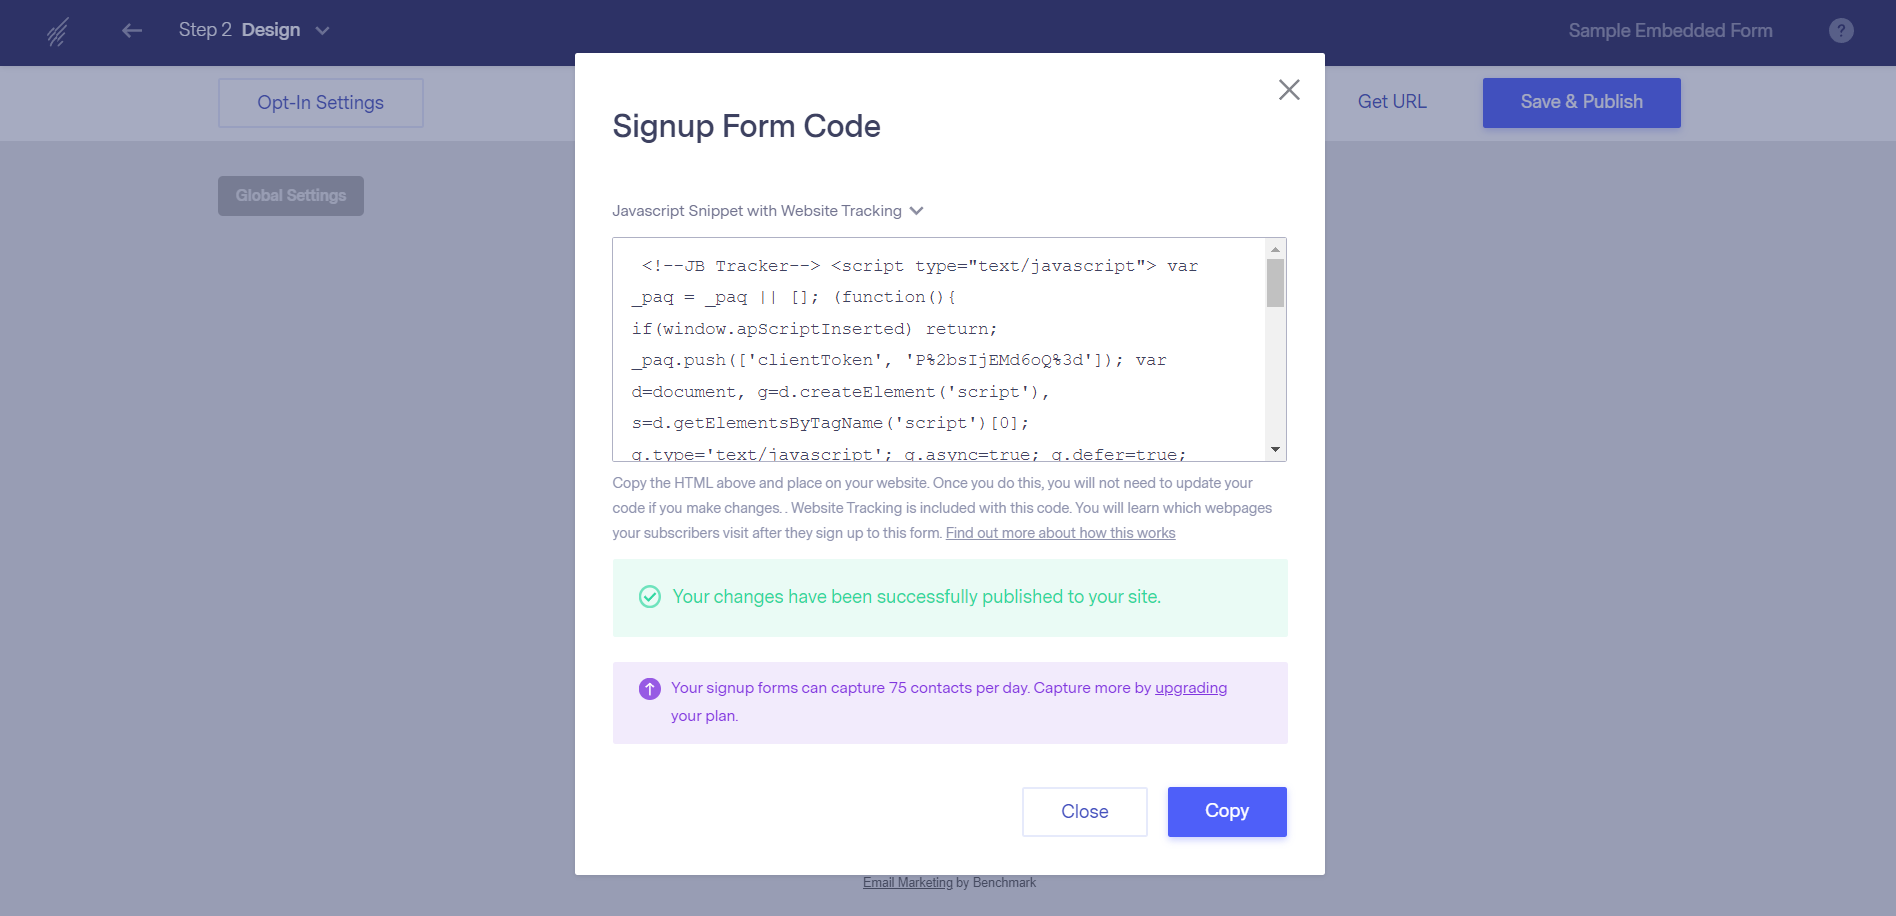
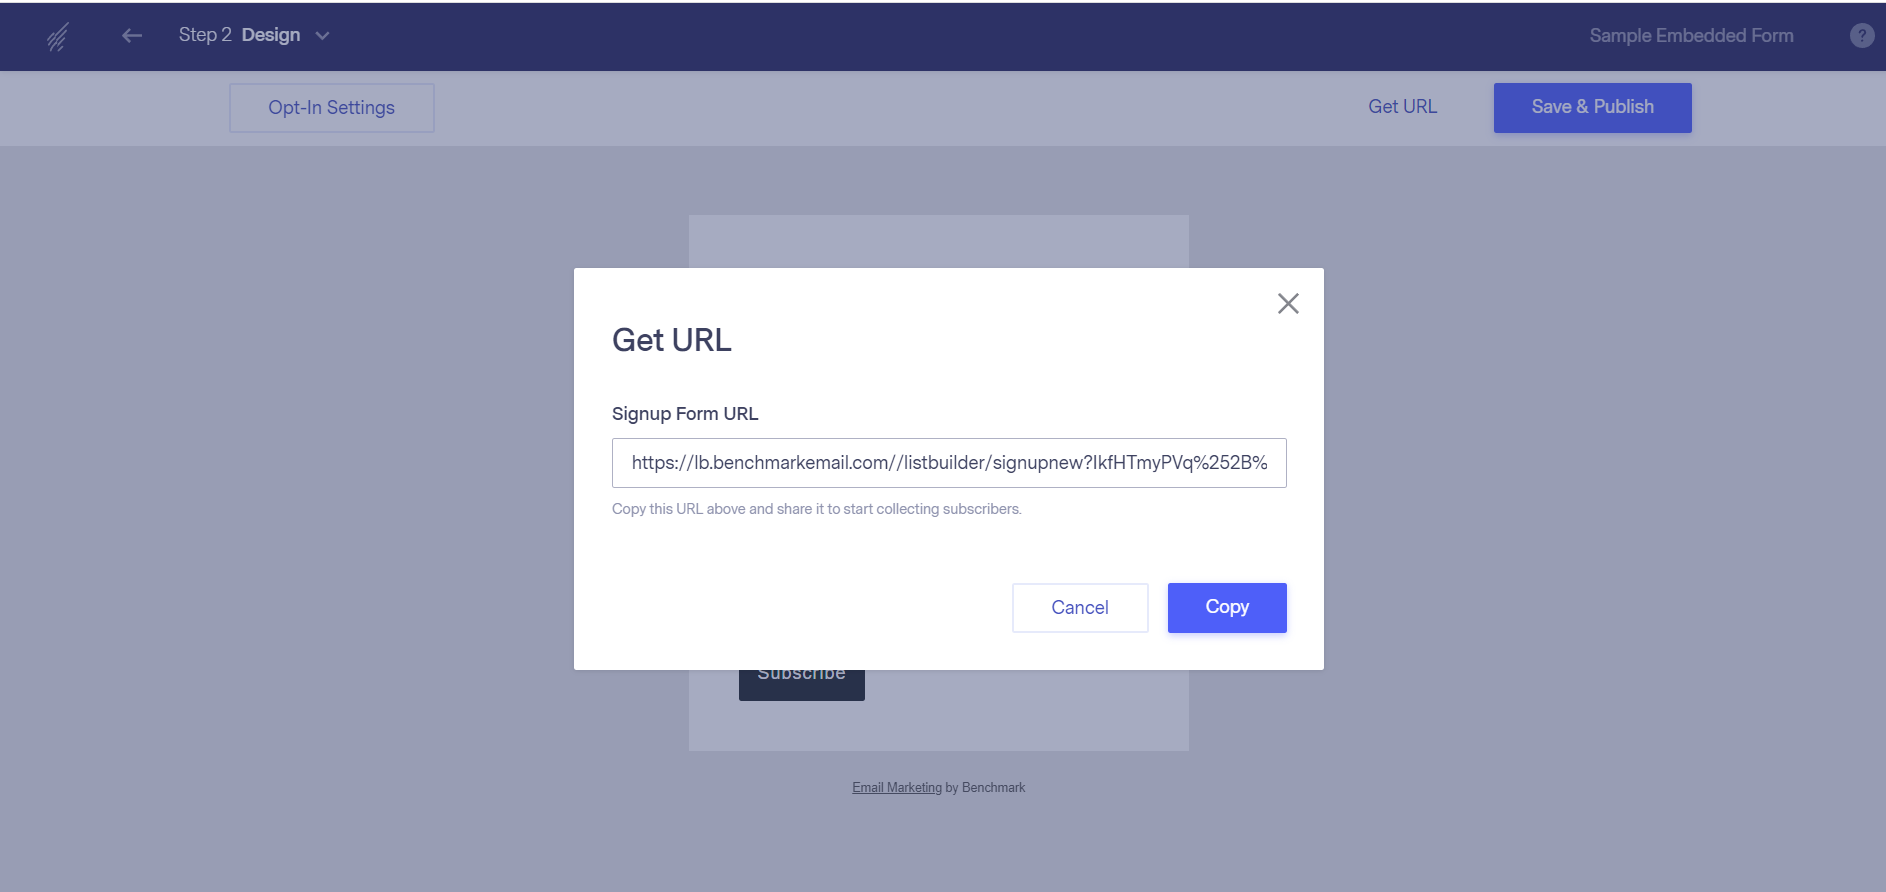
2. Add the Form to Your Website and Share
You can then share the form by embedding it on your website, sharing the link on social media, or sending it out in an email campaign.
3. Create Your Welcome Email and Setup Automation
Now, it’s time to create your welcome email so you can tie it to your new signup form.
Click on the “Automation Pro” tab from the dashboard menu.
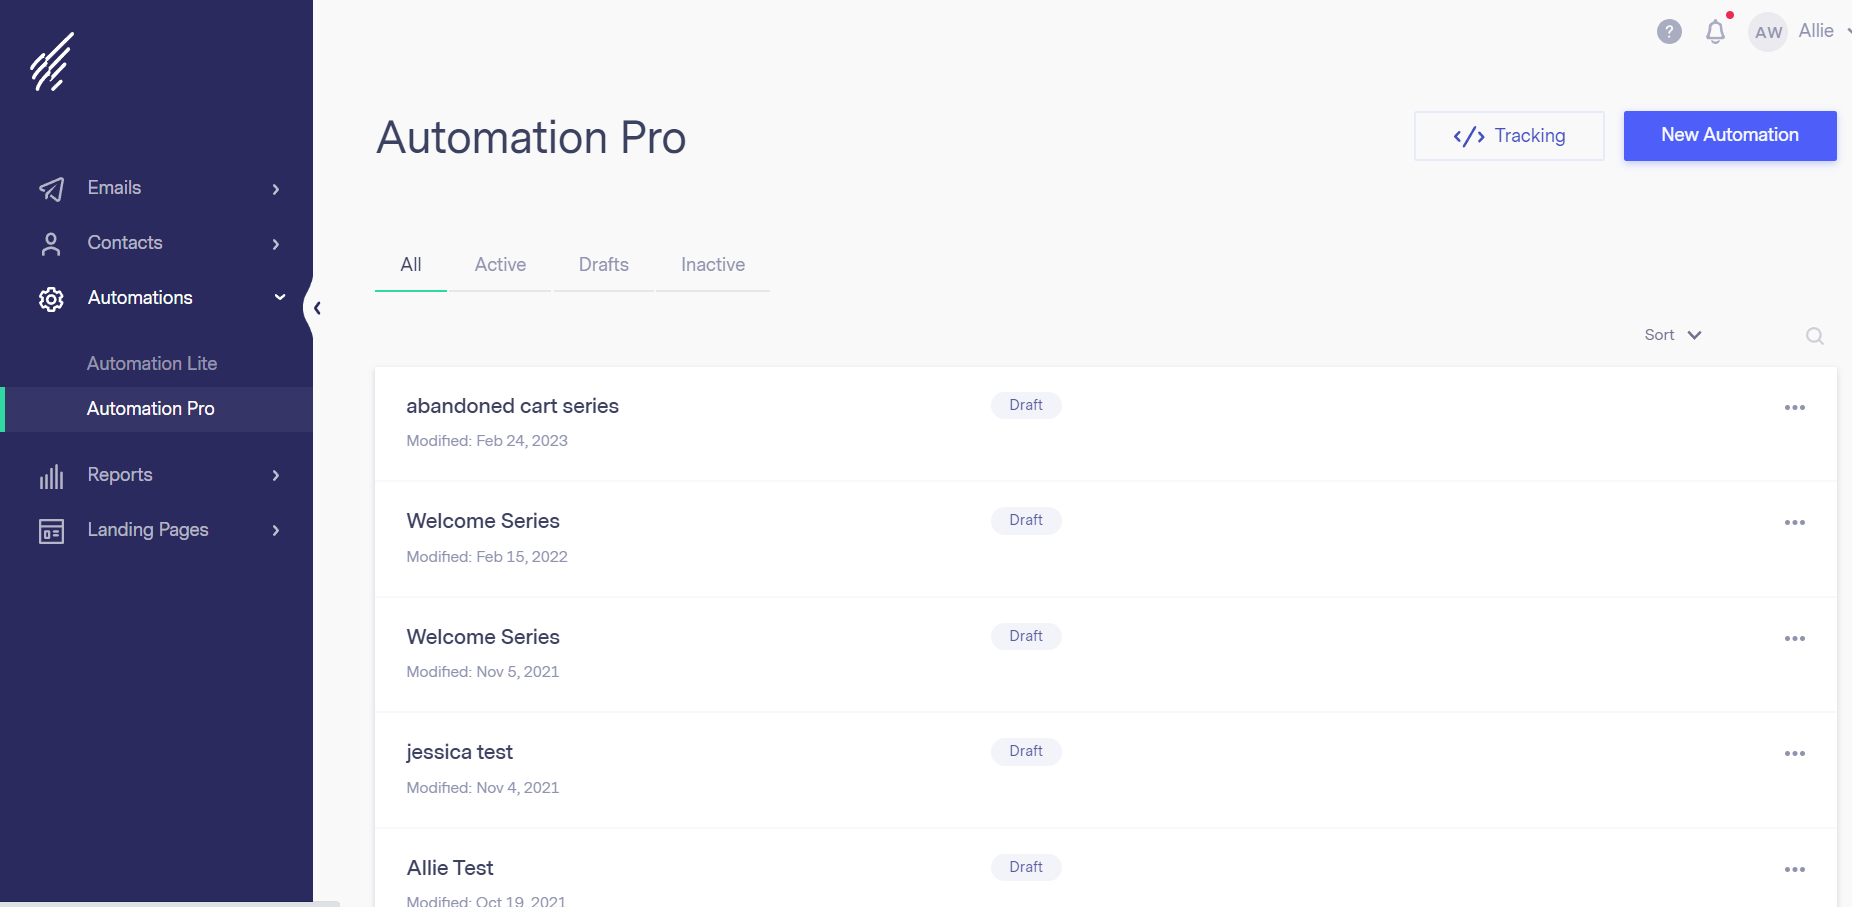
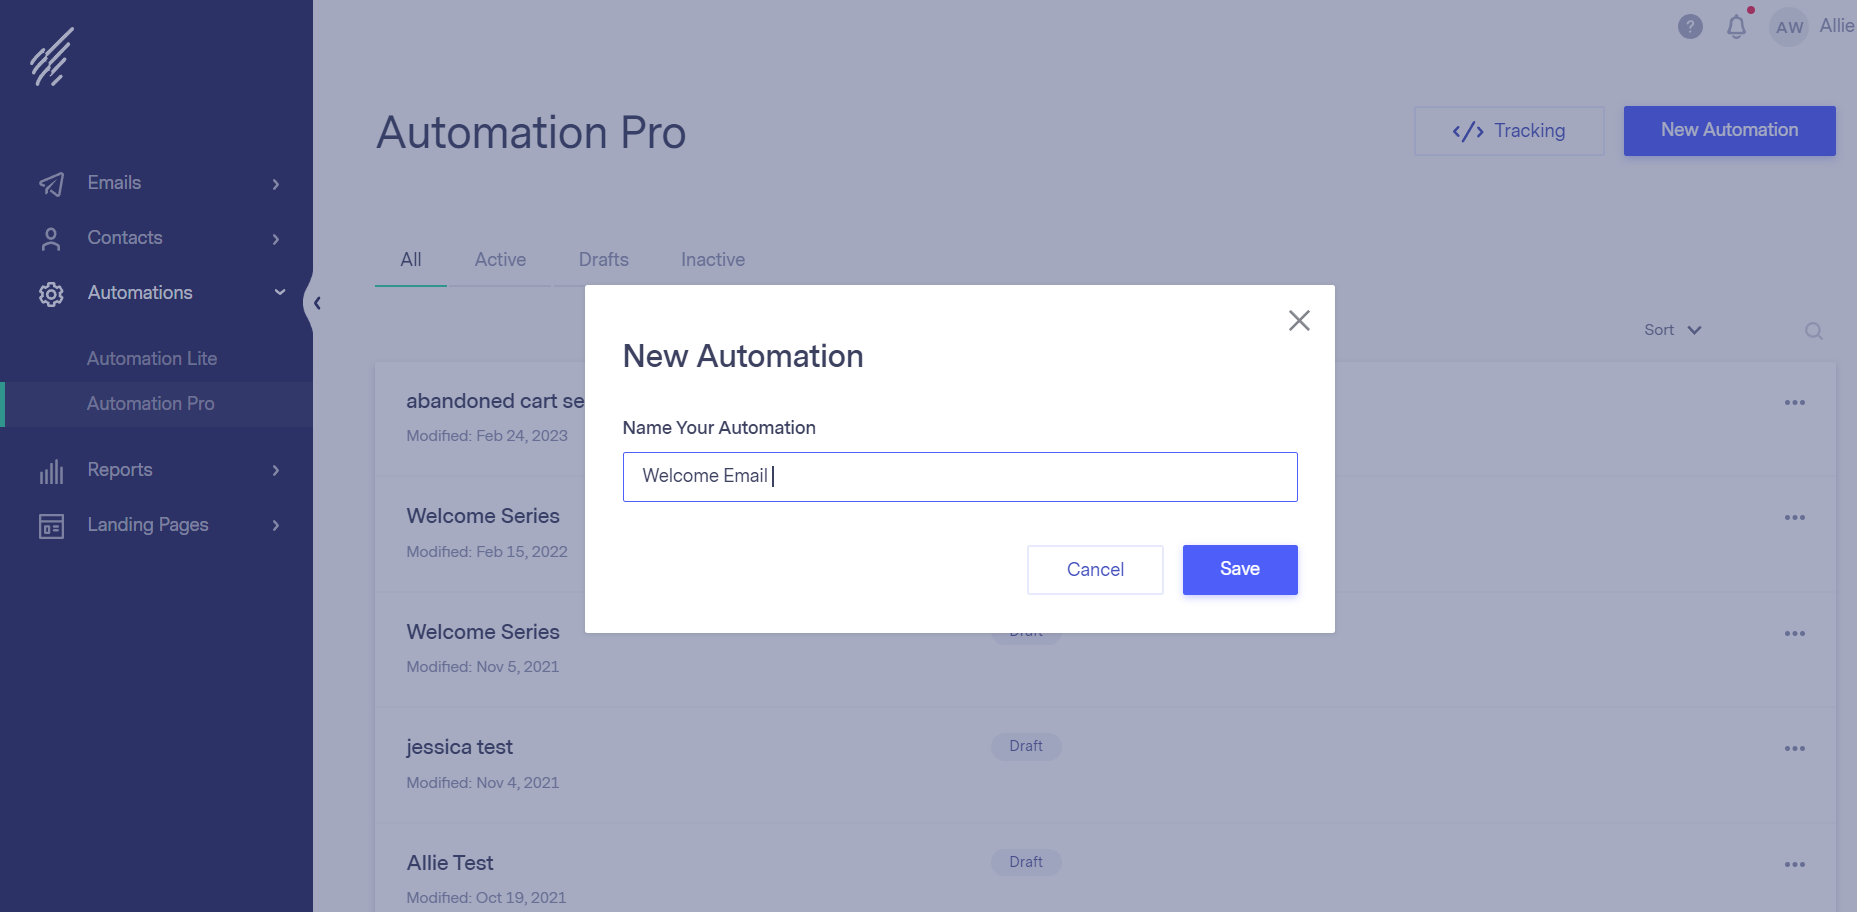
Click the “New Automation” button, and name your welcome automation.
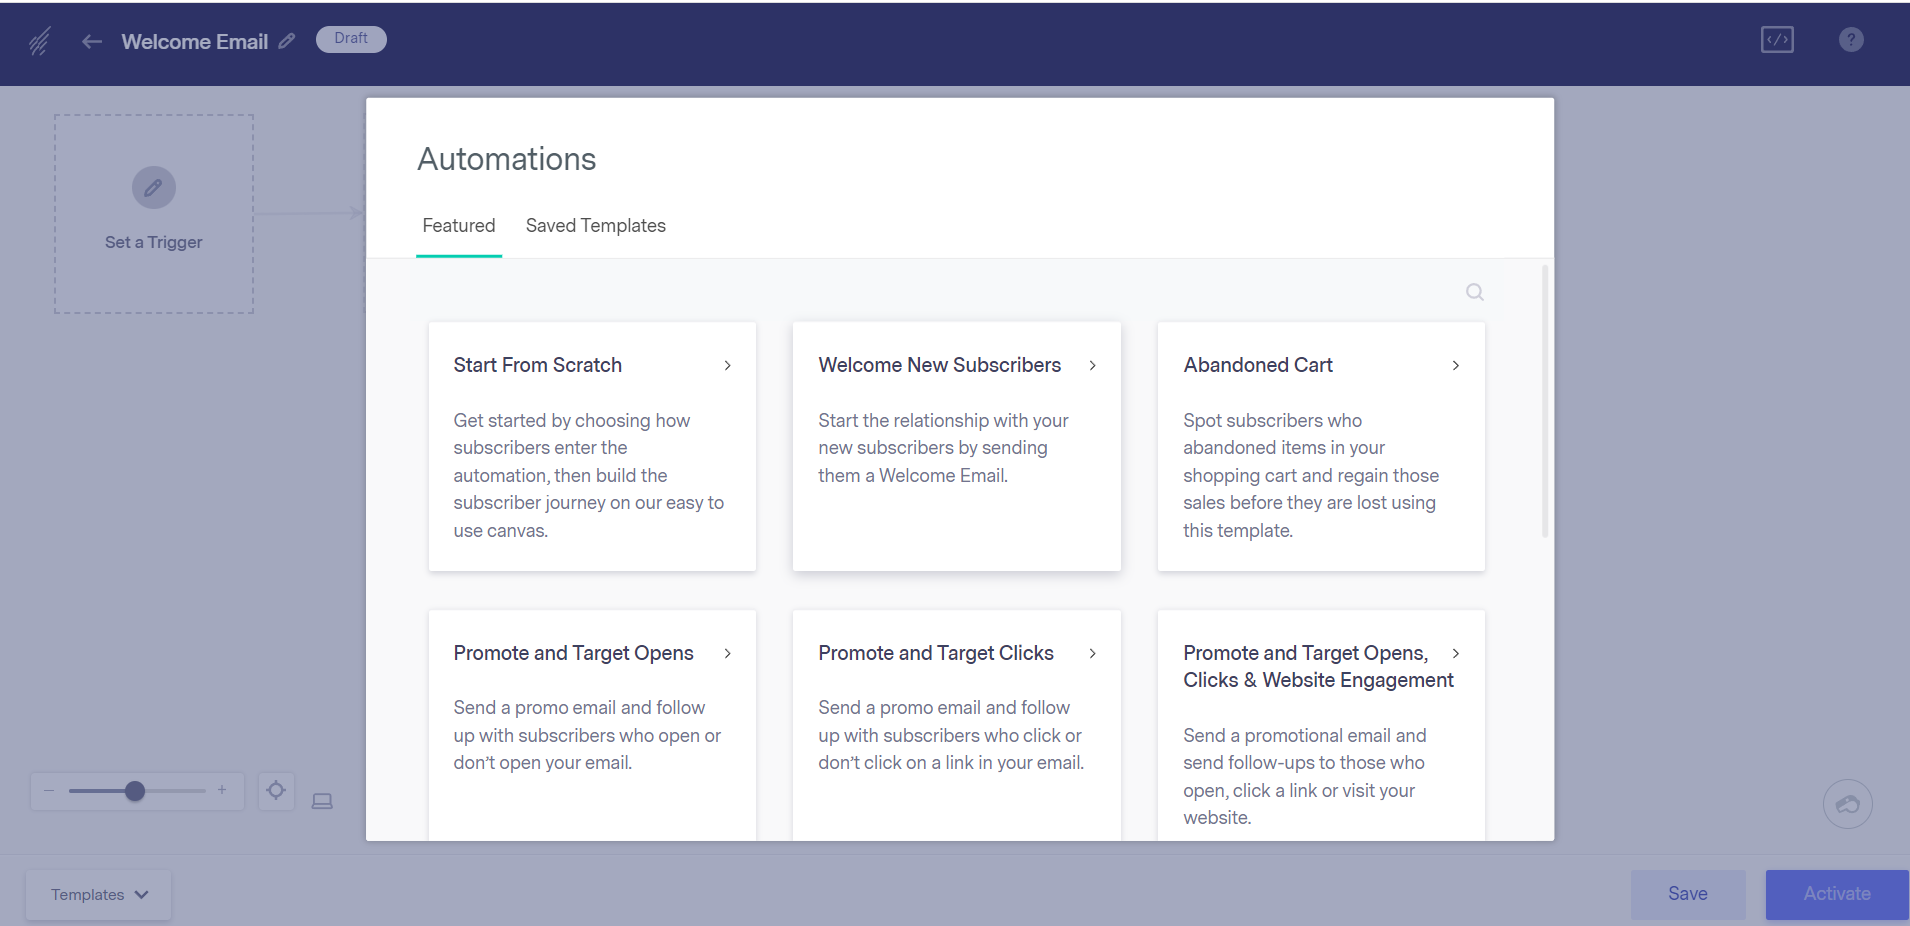
Select “Welcome New Subscribers” from the automations options.
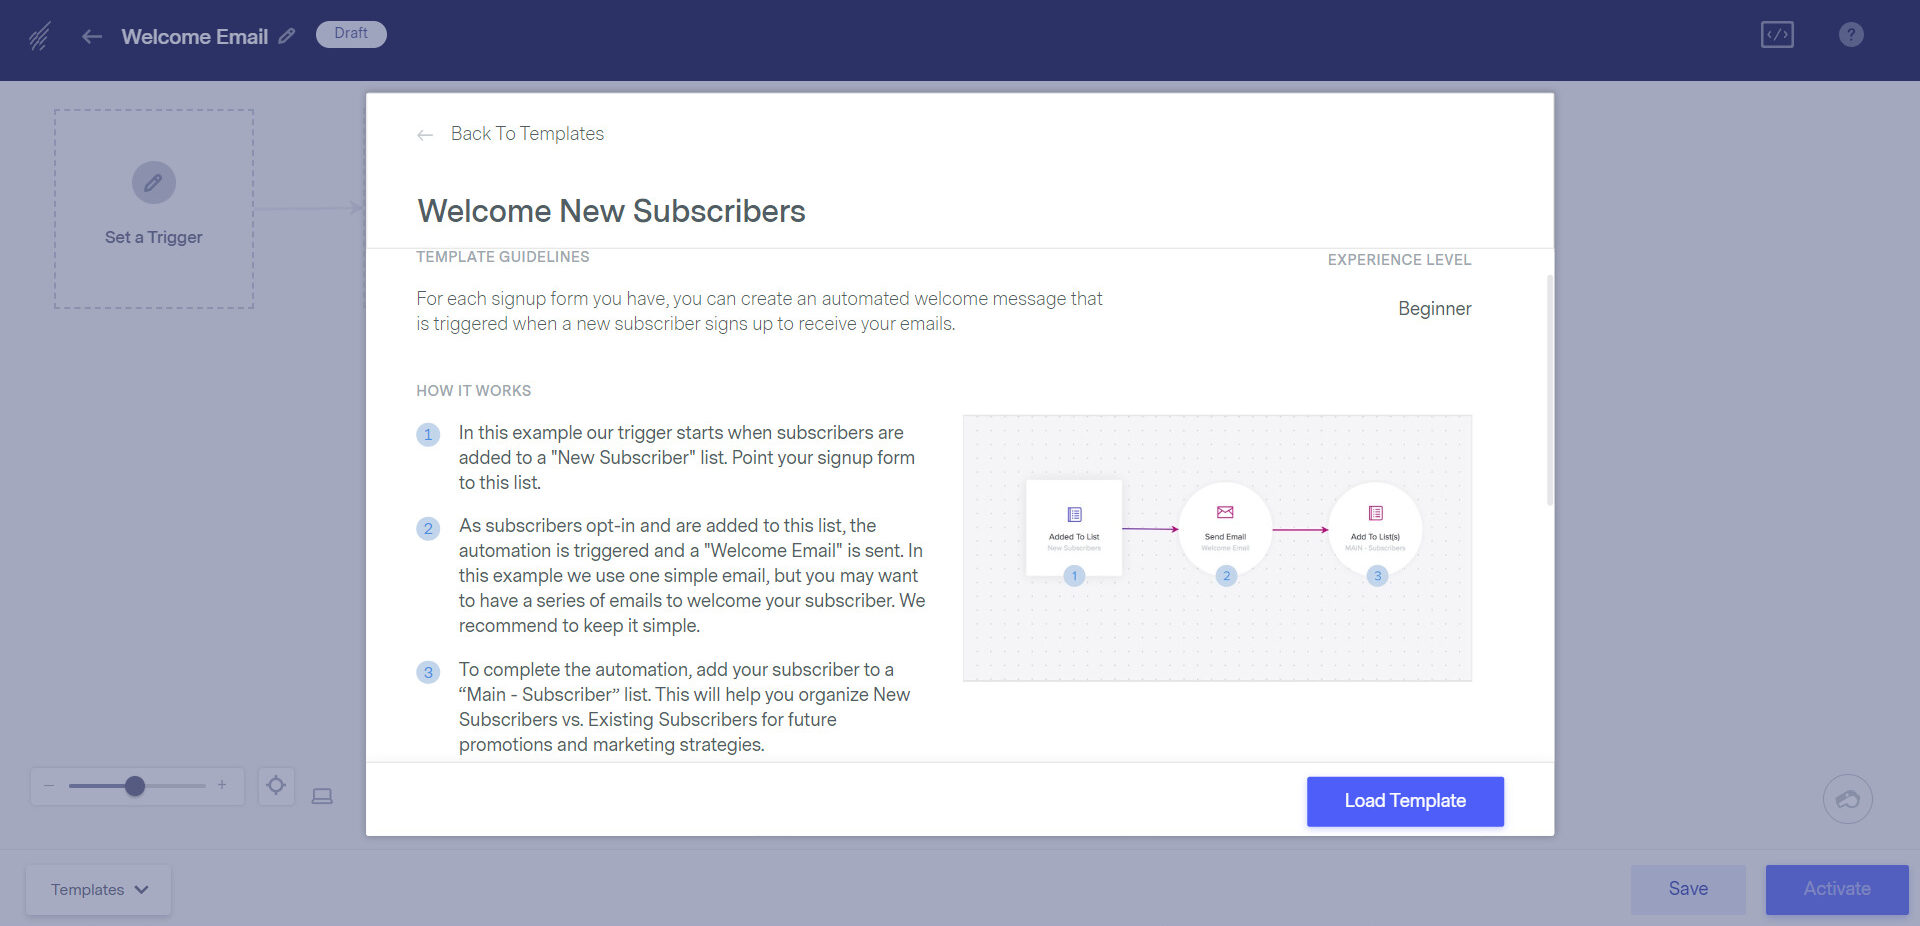

Edit/fill out the necessary information for your automation.

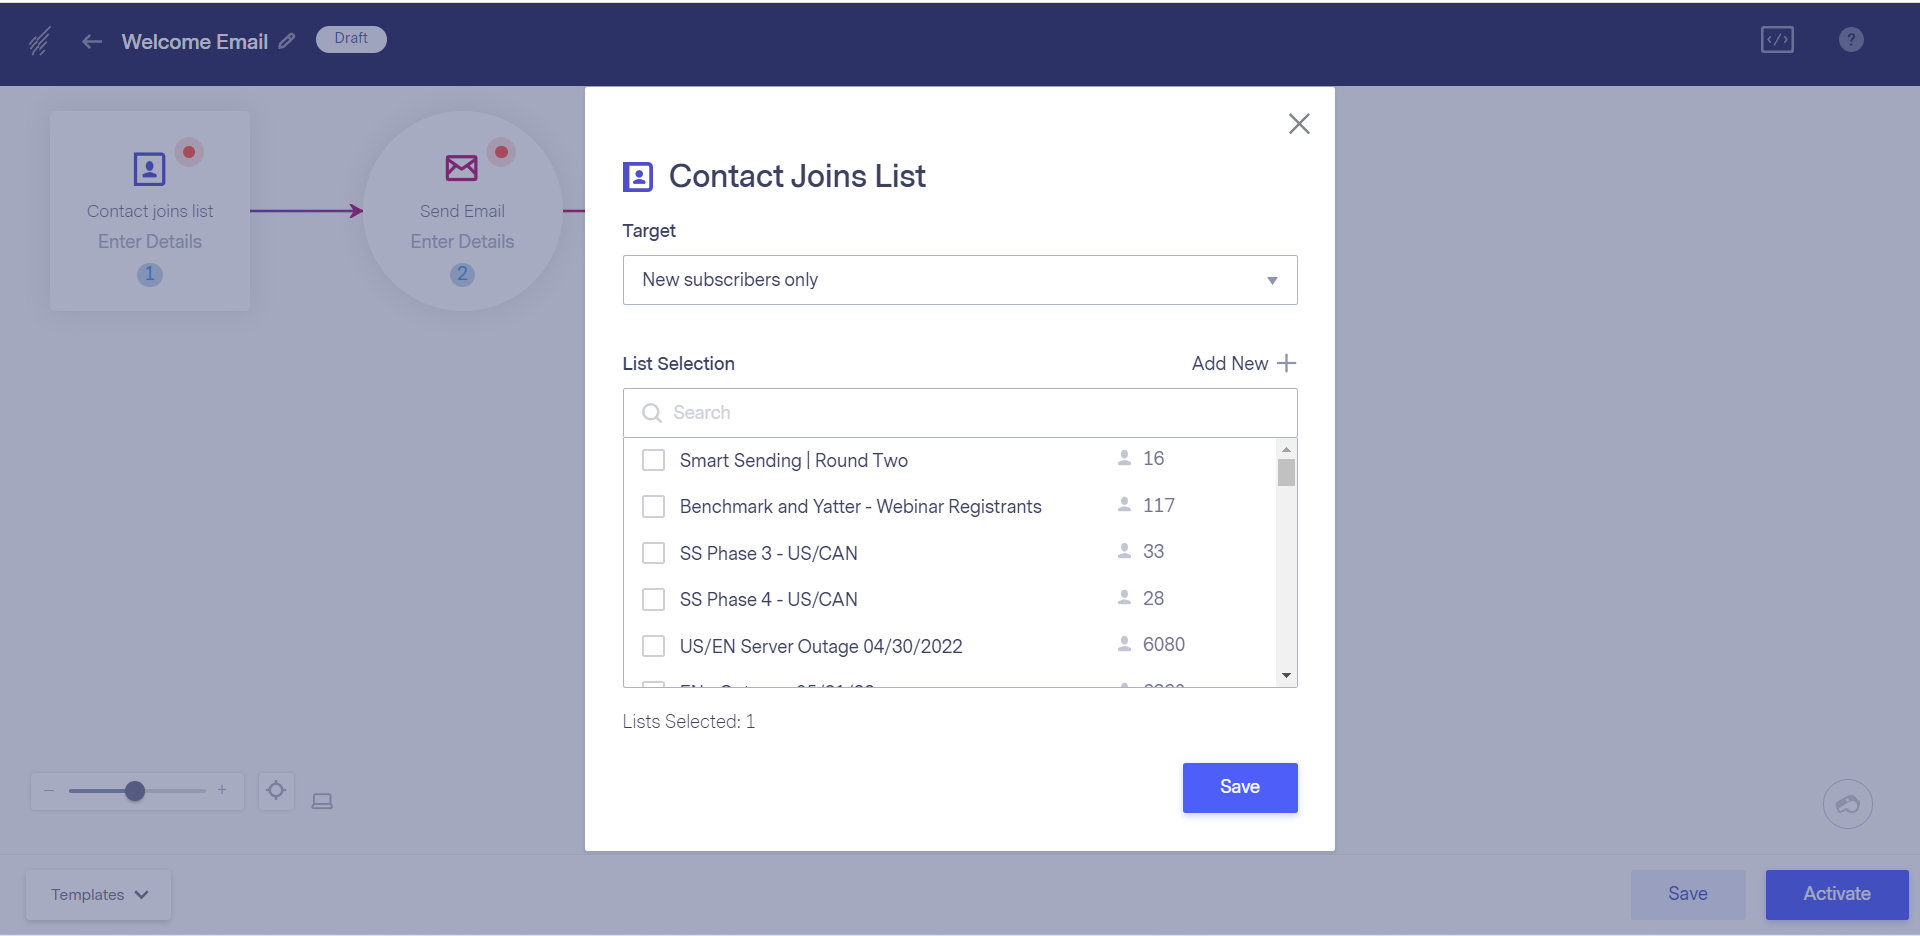
Target new subscribers only, and then select the list you want to associate this automation with. You’ll want to choose the list you created for your form.
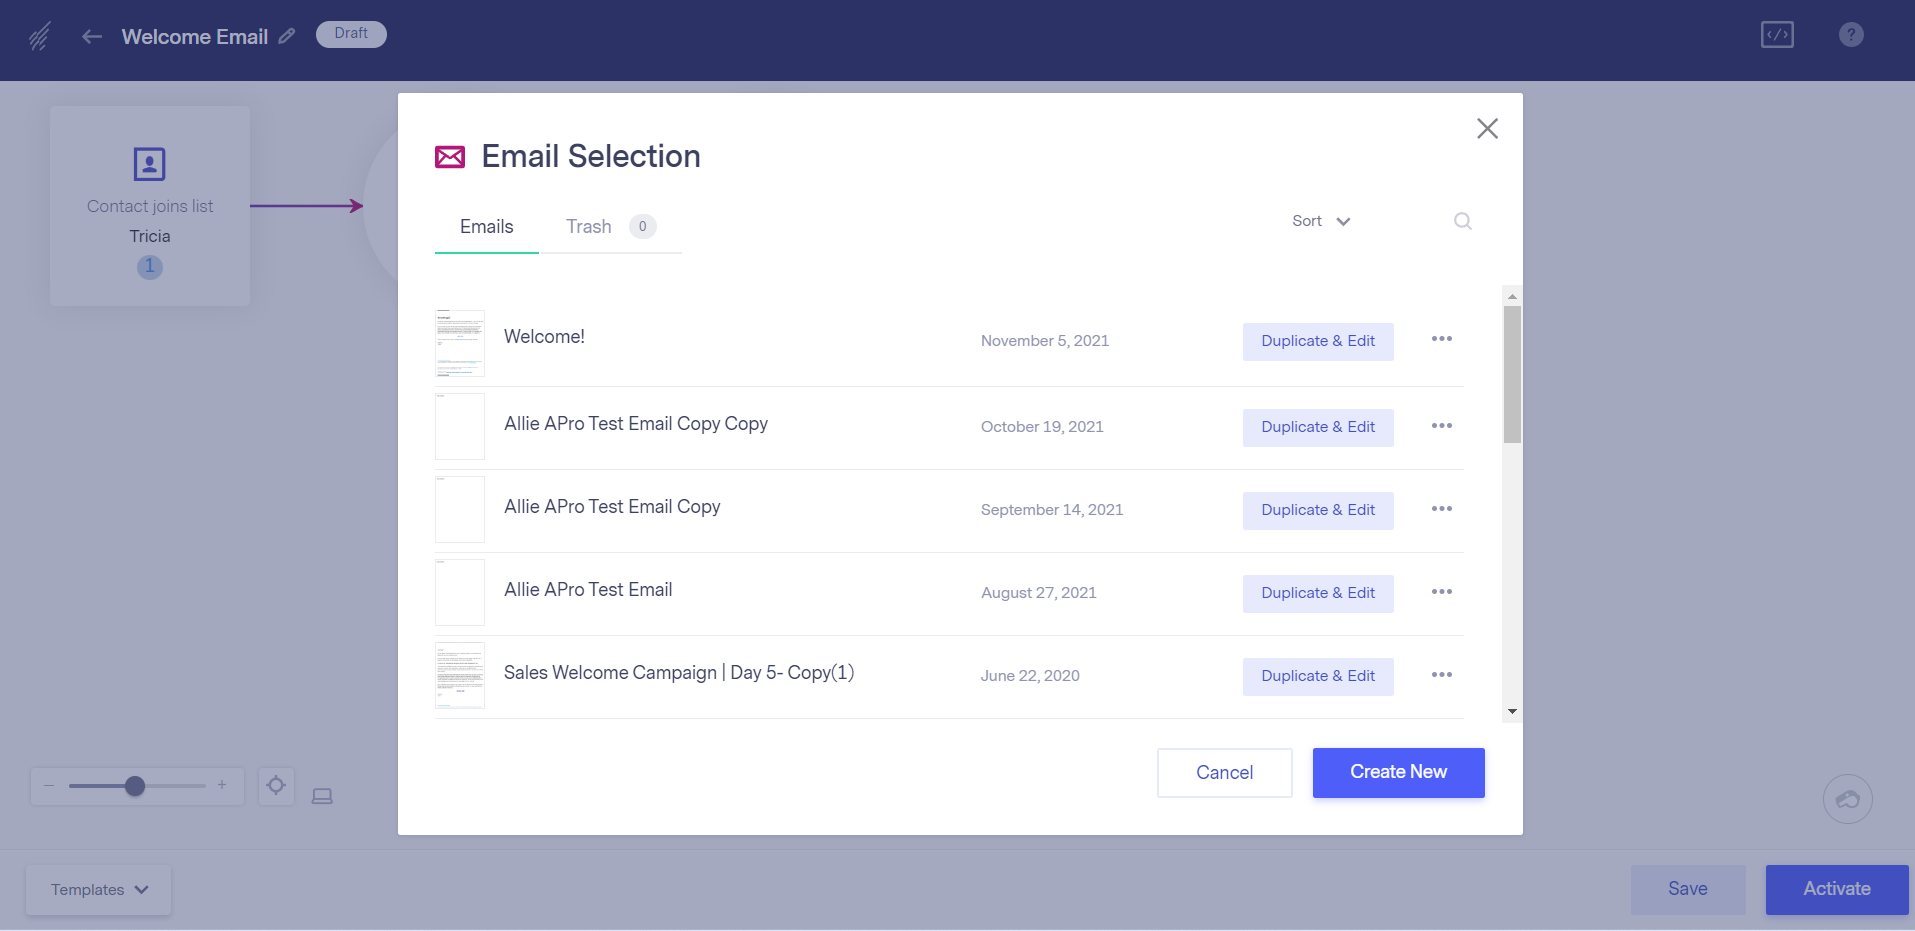
Create a new email for the email selection.
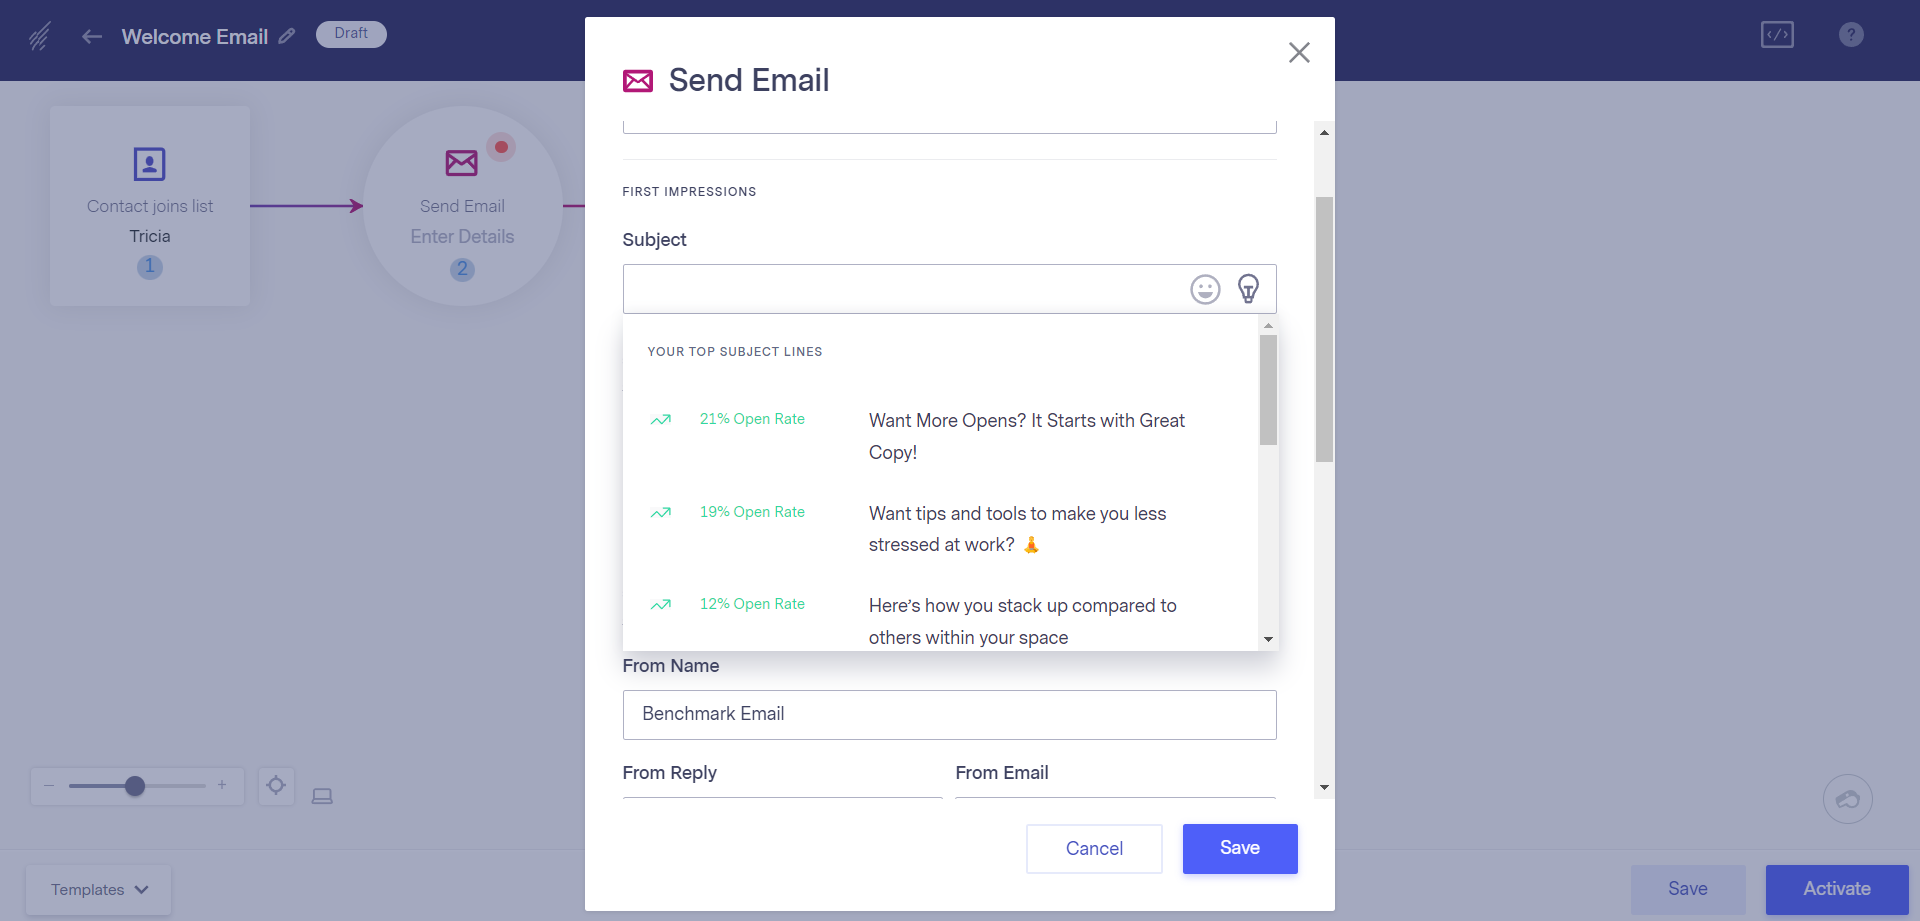
Name the email, create a subject line, and preview text.
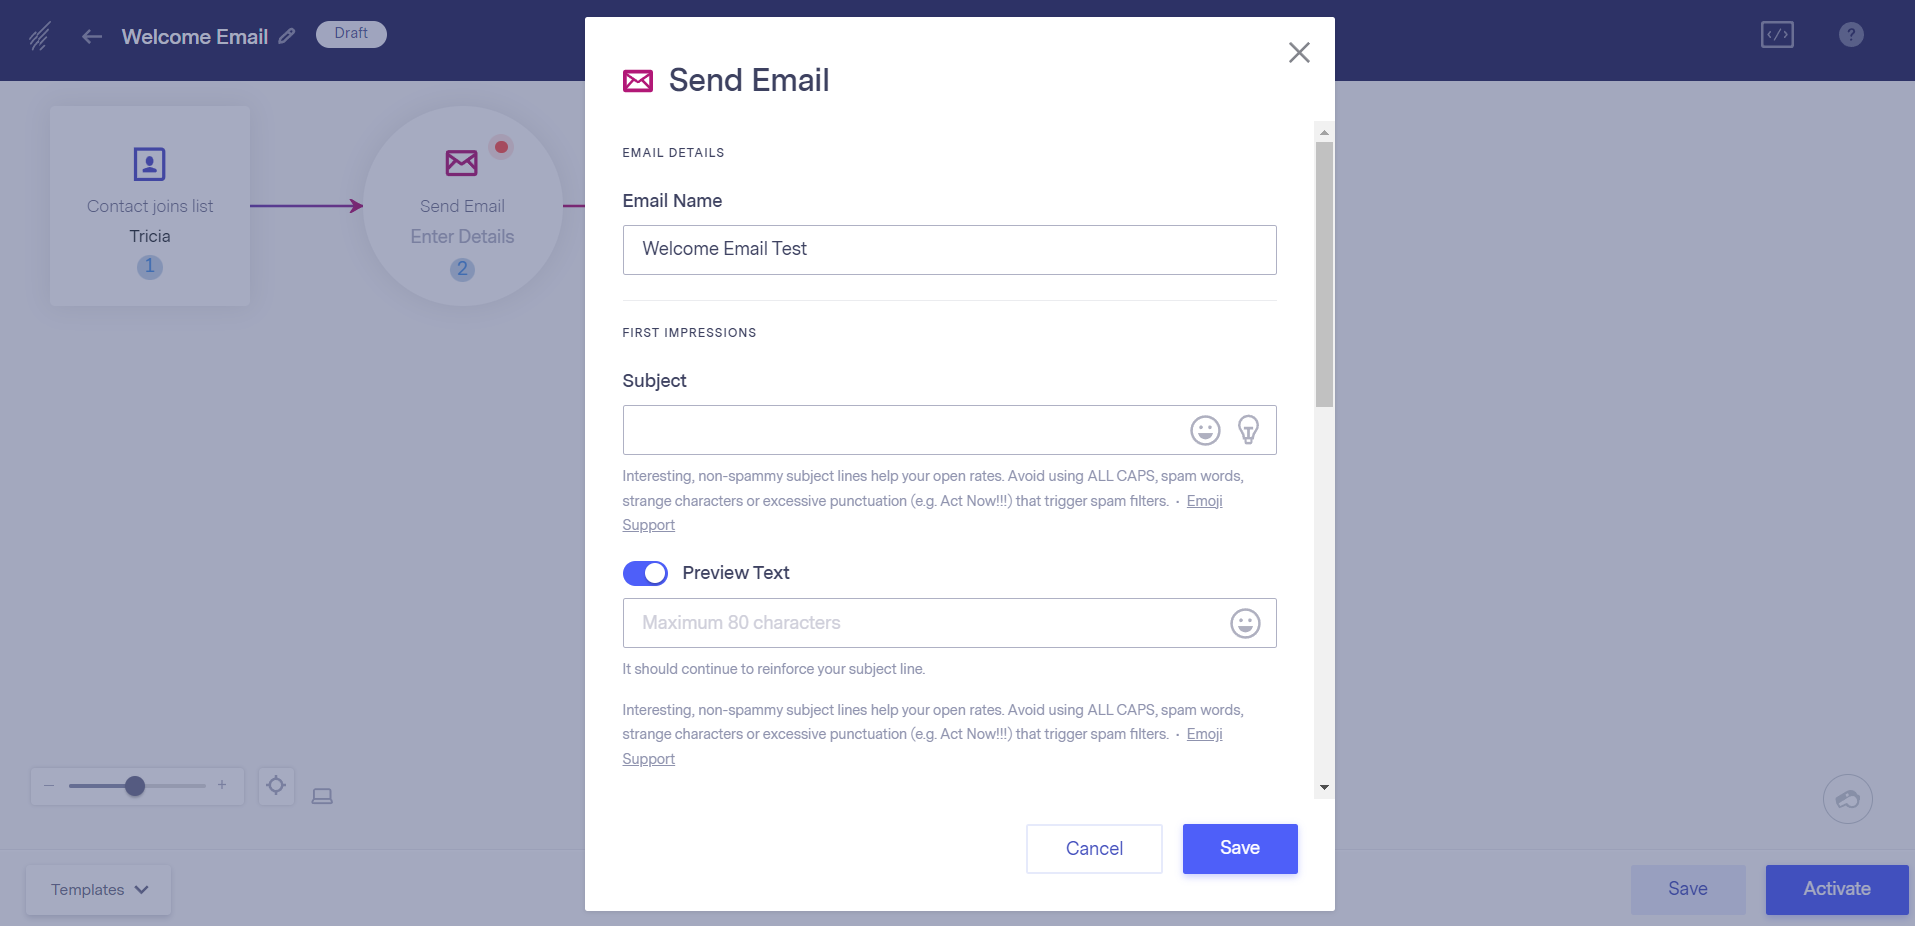
If you need help with the subject line, click on the lightbulb. This will trigger Smart Content, a Benchmark Email tool that assists you with crafting engaging content.
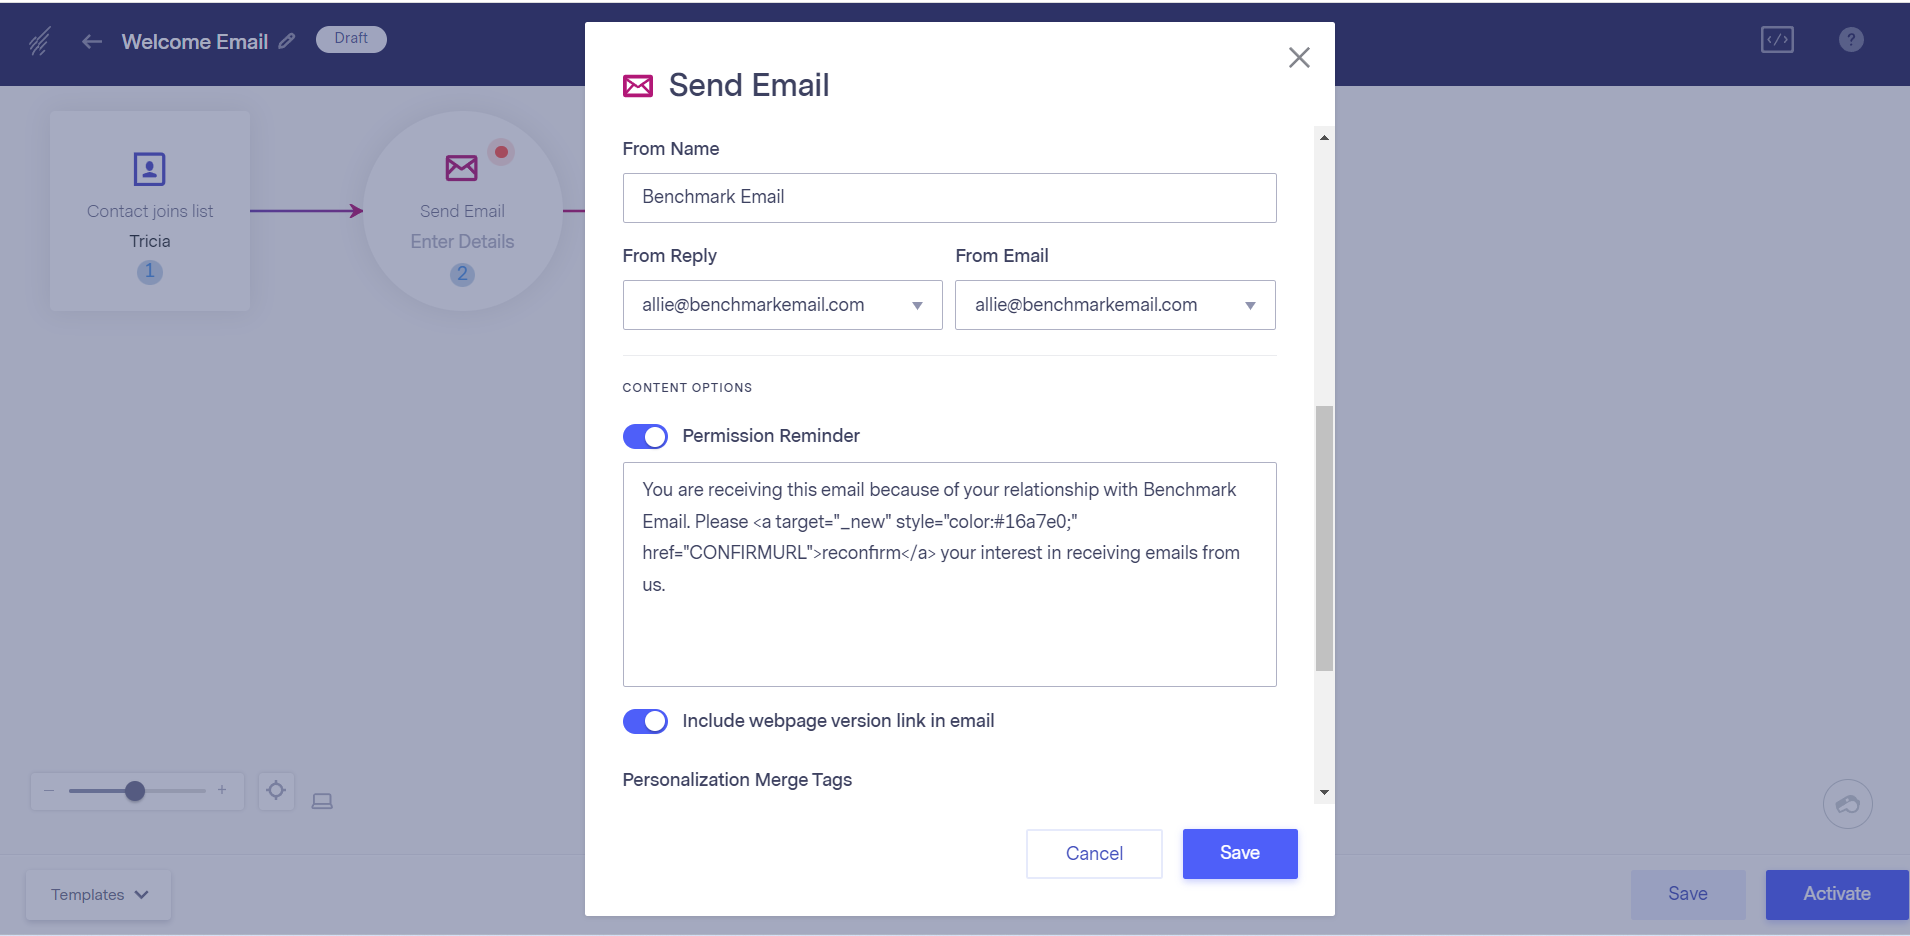
Then, designate who the email will be from.
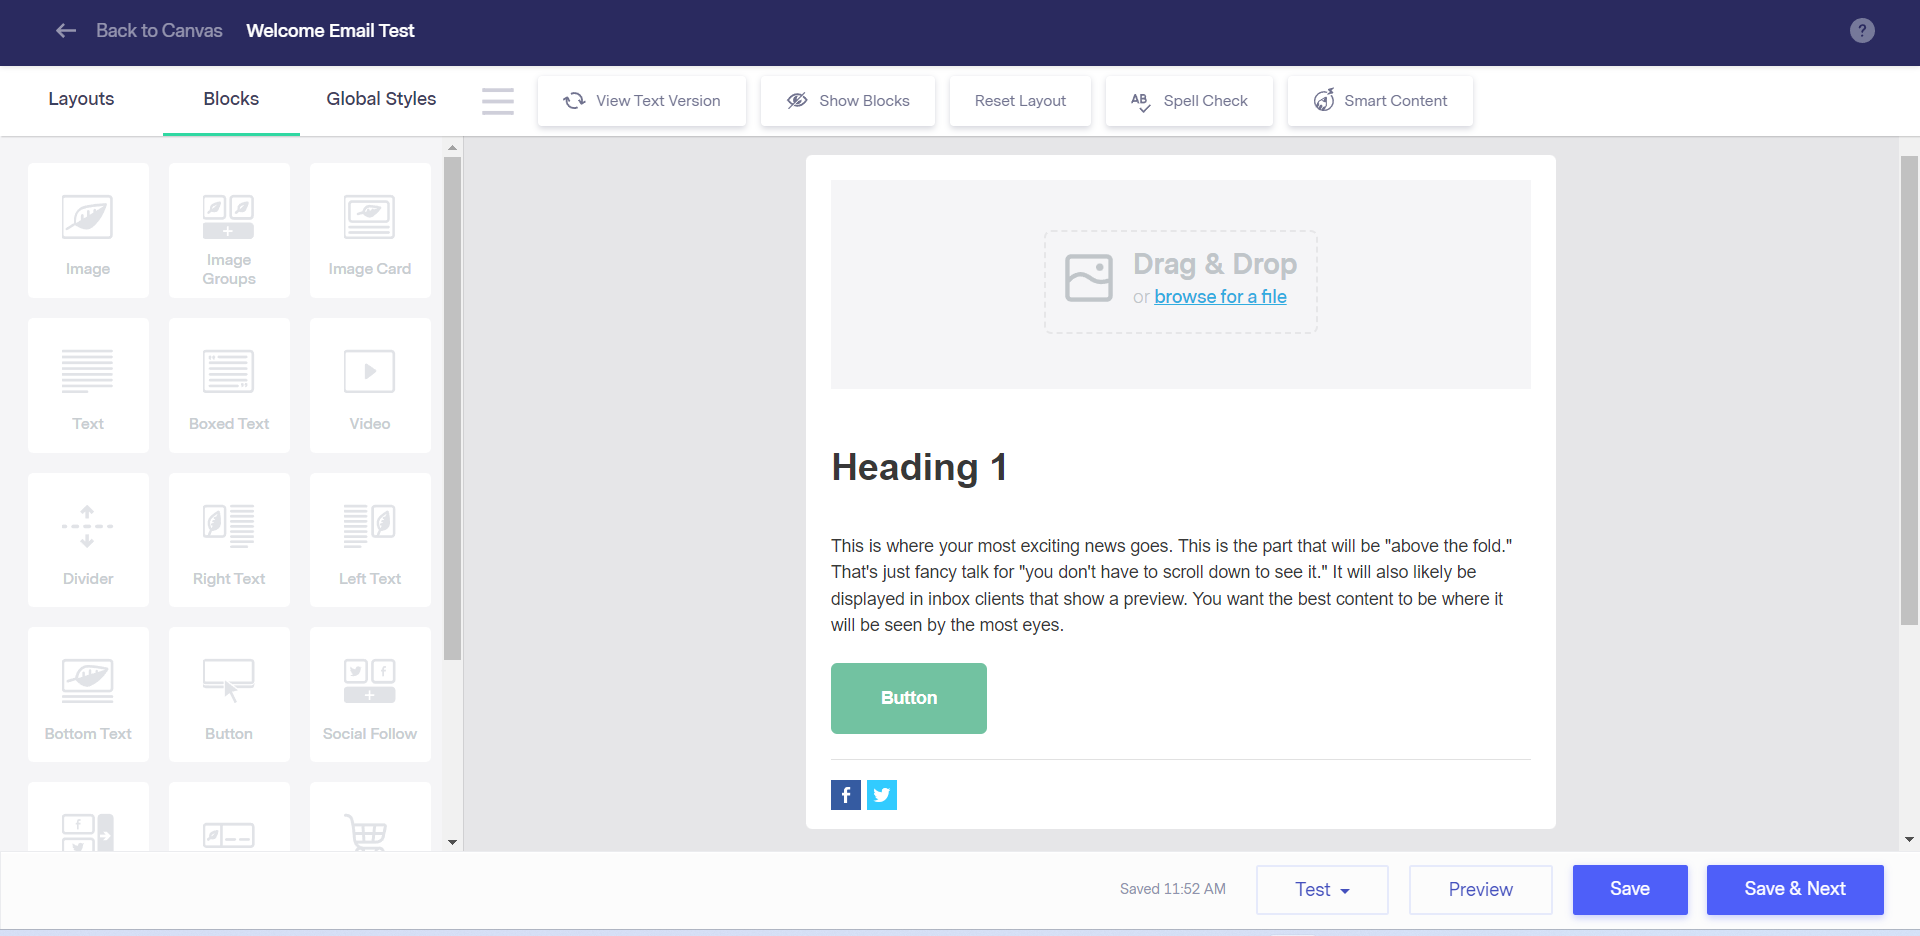
Select the email editor of choice.

Customize the welcome email by adding your own content, images, and branding. You can also personalize the email with the subscriber’s name or other relevant details. You can use the Smart Content feature to assist you with your email body copy as well.
Then, confirm the list you want to add contacts to.
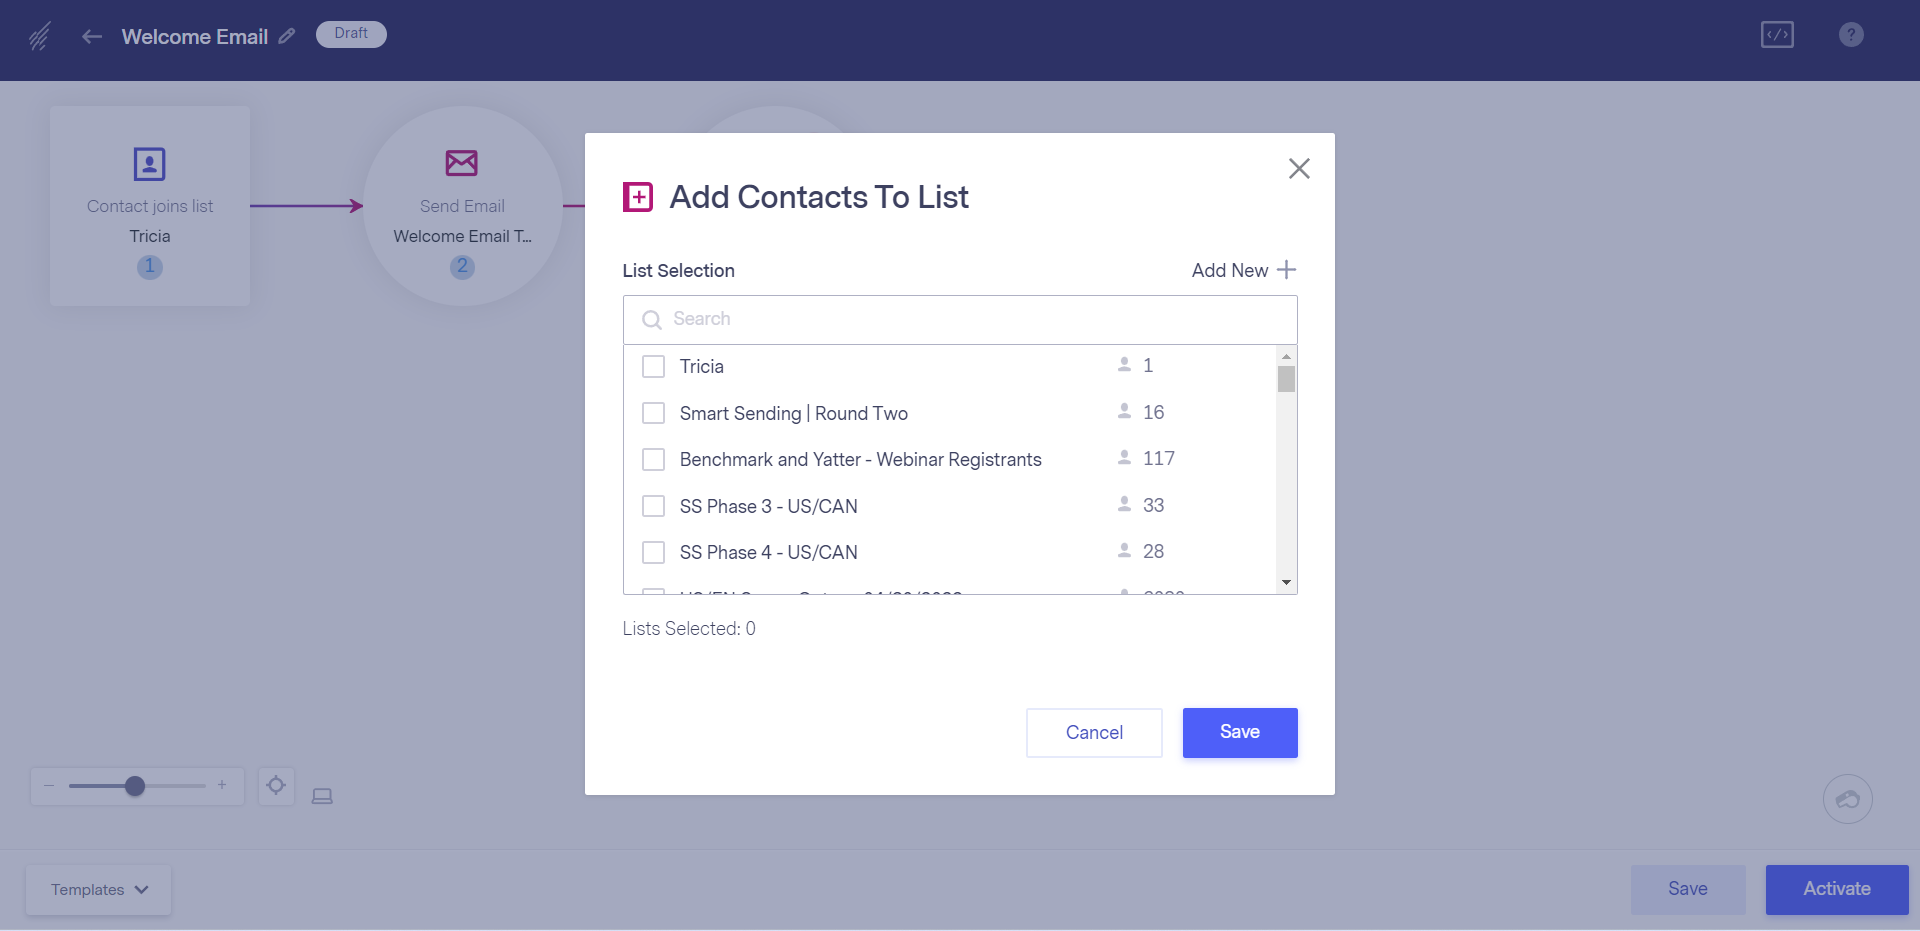
Then, click “Activate.”
That’s it! By following these steps, you can create a welcome email in Benchmark Email and set up an automated workflow to send it out to new subscribers or customers. Benchmark Email also offers analytics and reporting tools to help you track the performance of your welcome email and optimize your email marketing strategy over time.
