


When it comes to plain text emails versus HTML emails, there’s a time and a place for both.
However, when it comes to keeping audiences and prospects engaged constantly, plain text emails may not always cut it. Plain text emails are great for one-on-one emails, but when it comes to sending automated emails to your segmented email lists, HTML emails are great.
We’ll take you through HTML emails and how you can them to create engaging emails for your business.
What is an HTML Email?
In contrast to plain text emails, HTML emails are formatted emails that contain style and design elements to increase engagement and visual appeal. HTML emails are built using HTML codes and inline CSS styles.
HTML offers diverse design opportunities, making it perfect for your engaging marketing emails. With HTML emails, multimedia files can be included directly in emails, with custom fonts and colors, amongst other styling options.
What Typically Goes Into Building an HTML Email?
Behind the visually captivating HTML emails are multiple lines of code, including tables and inline CSS. To build an HTML email manually, you need to know how to use HTML codes to design your emails for desired results.
Beyond knowing your codes, building an HTML email by hand requires much more. Let’s take a look at the behind-the-scenes of setting up an effective HTML email.
- HTML codes: The HTML email is divided into the header and body. The header section contains codes that specify styling, media, and CSS animations. The body codes focus on building the email structure. Between the header and body are multiple lines of codes with specific functions.
- Testing for responsiveness: After building the email, it is vital to test the responsiveness to ensure it works on all major email clients.
- Bug checking: Check the codes for bugs, fix them, and also clean up unused codes.
- Accessible-friendly: Check for accessibility features. Is it dark-mode friendly? Does it work with screen readers?
- Unused CSS styles: Check for unused inline CSS and delete it from the codes to improve load times.
- Email preview: Preview the complete email to ensure it renders correctly. Errors can be identified and fixed as well.
- Test emails: Send test emails to different email clients to ensure proper rendering of emails across clients.
These are some of the steps required before you can actually send out your newly created HTML email.
Why Using an Email Automation Tool is More Convenient for HTML Emails
The endless design possibilities of being able to code your emails manually is a valid reason to want to build your emails by hand. However, this would require many hours of learning or the expense of hiring an expert. Plus, there are numerous steps to ensure proper rendering.
Marketers are busy people, and so many use an email automation tool like ours. Email marketing tools do the heavy lifting for you, so you don’t need to manually input lines of code for visually engaging and responsive emails.
Why use a marketing automation tool?
- They are easy to use. Benchmark Email’s drag-and-drop builder does not require any technical knowledge.
- They are affordable and do not demand as much from your marketing resources compared with building every single email from scratch.
- The availability of numerous customizable templates like we have in our library ensures that there is always something to use for different campaigns and occasions without running out of creative options.
- There is more time you would have otherwise spent manually coding to focus on other essential aspects of your emails, like perfecting the body copy.
- All technical aspects have been taken care of. You do not have to worry about emails rendering correctly across multiple clients or if you have the correct device screen sizes highlighted in the codes.
How to build an HTML email using Benchmark Email
Building an email with Benchmark Email’s drag-and-drop builder is straightforward. Follow the steps below, and you’ll have your engaging email to send out to your subscribers in no time.
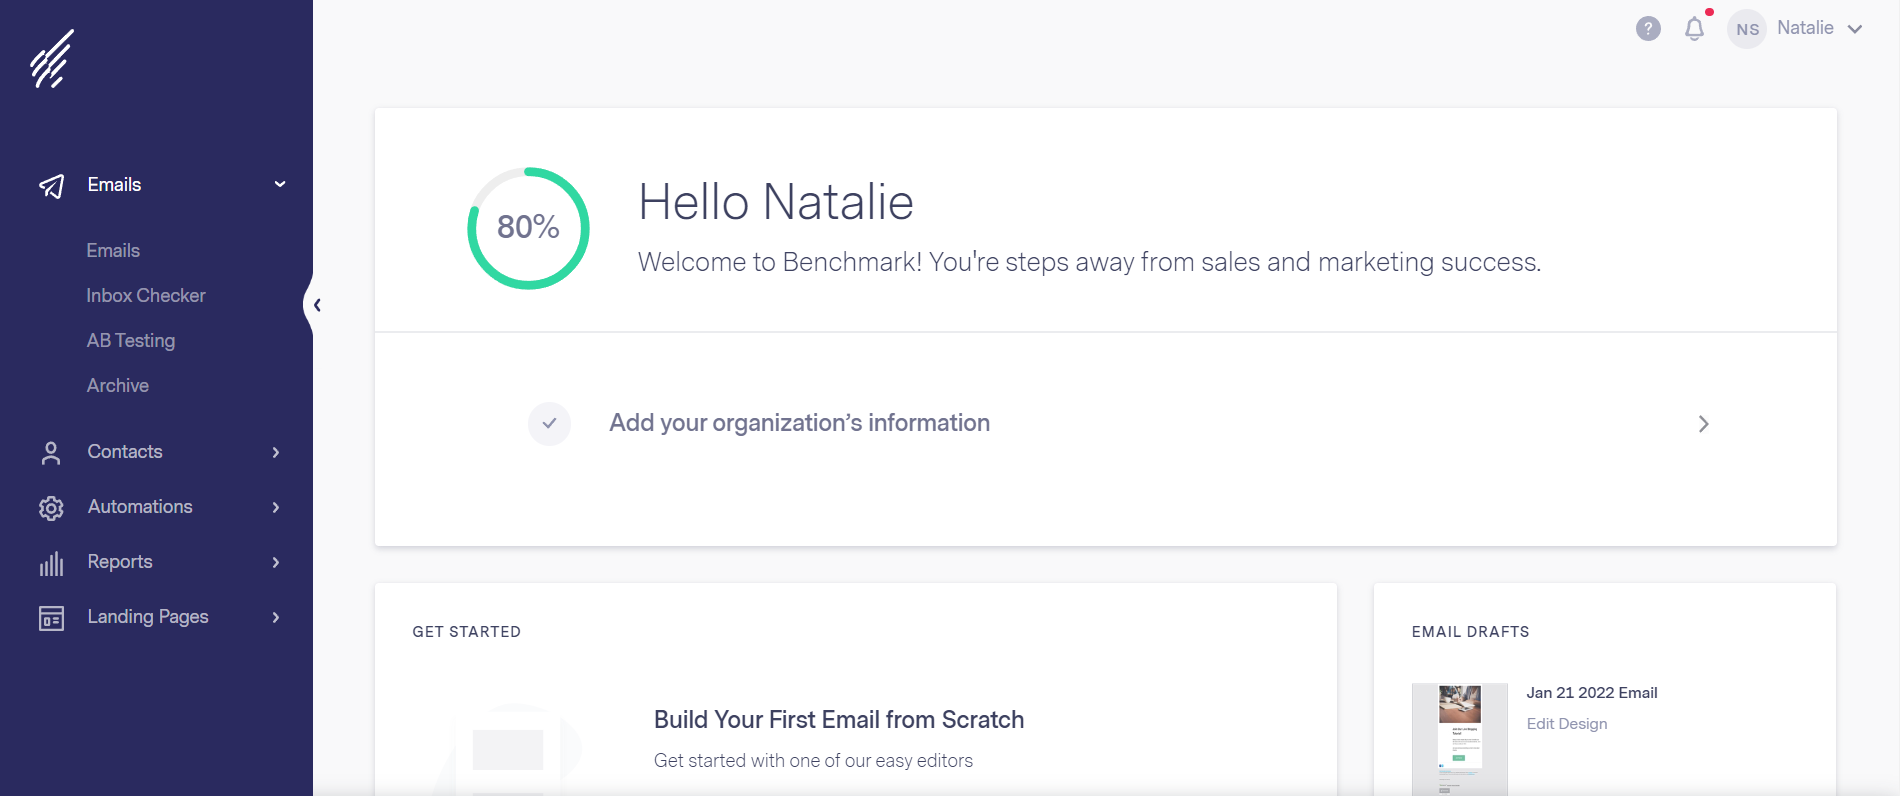
1. Click on “Emails” on the left-side menu from your account dashboard to expand the sub-menu, and click on “Emails” in the sub-menu to open the email dashboard.
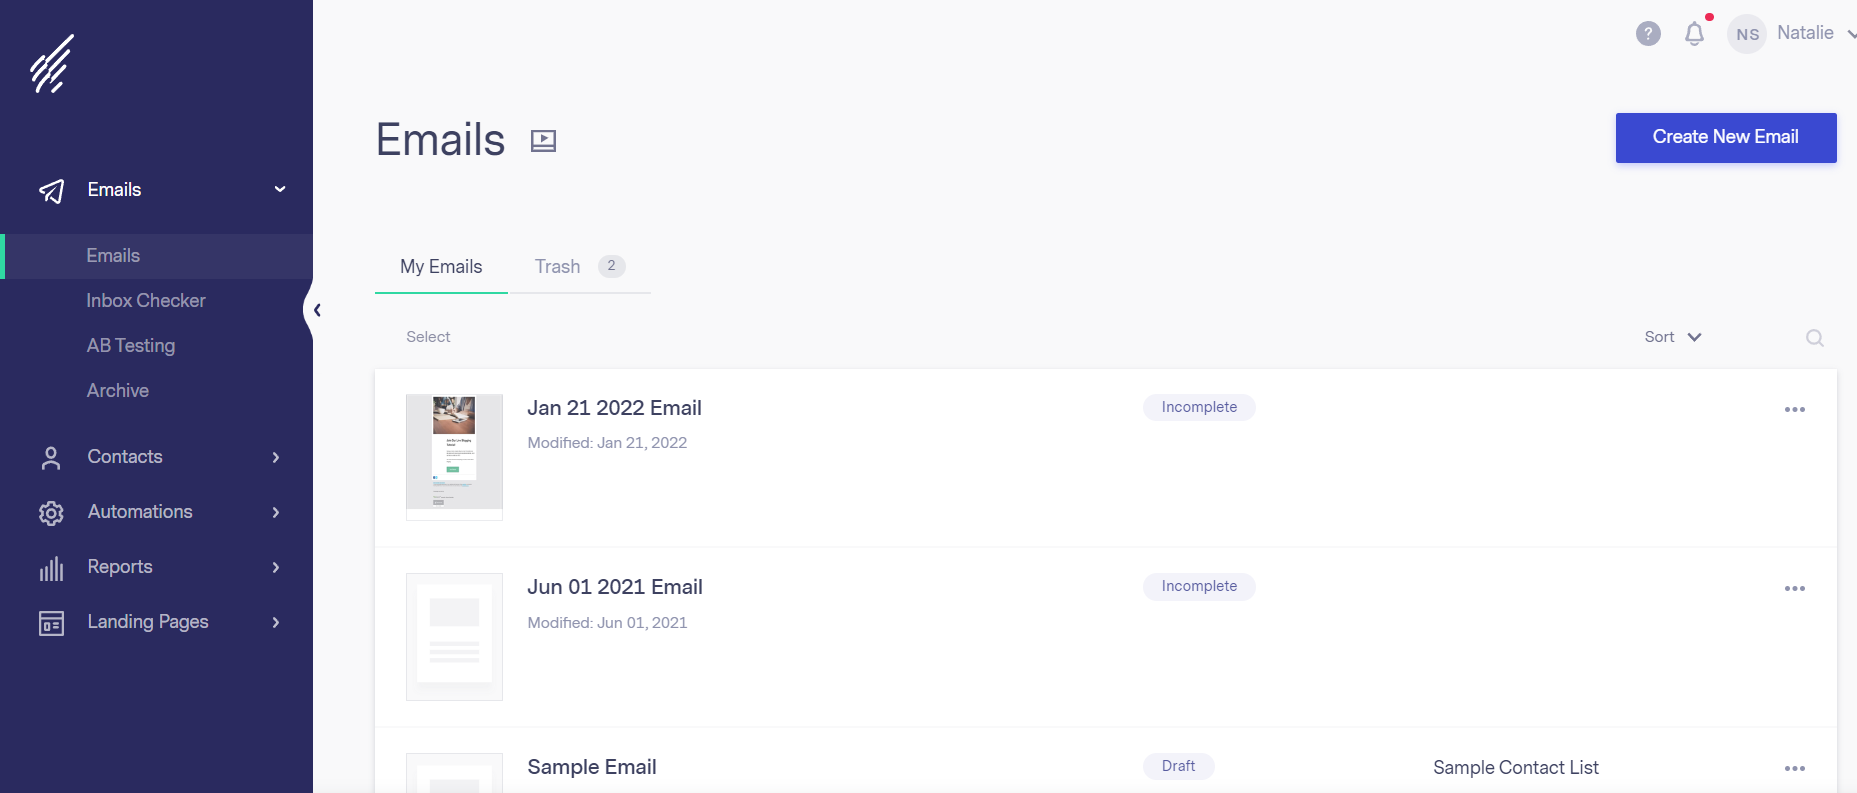
2. Click on “Create New Email” on the top right. This presents you with a two-option pop-up menu.
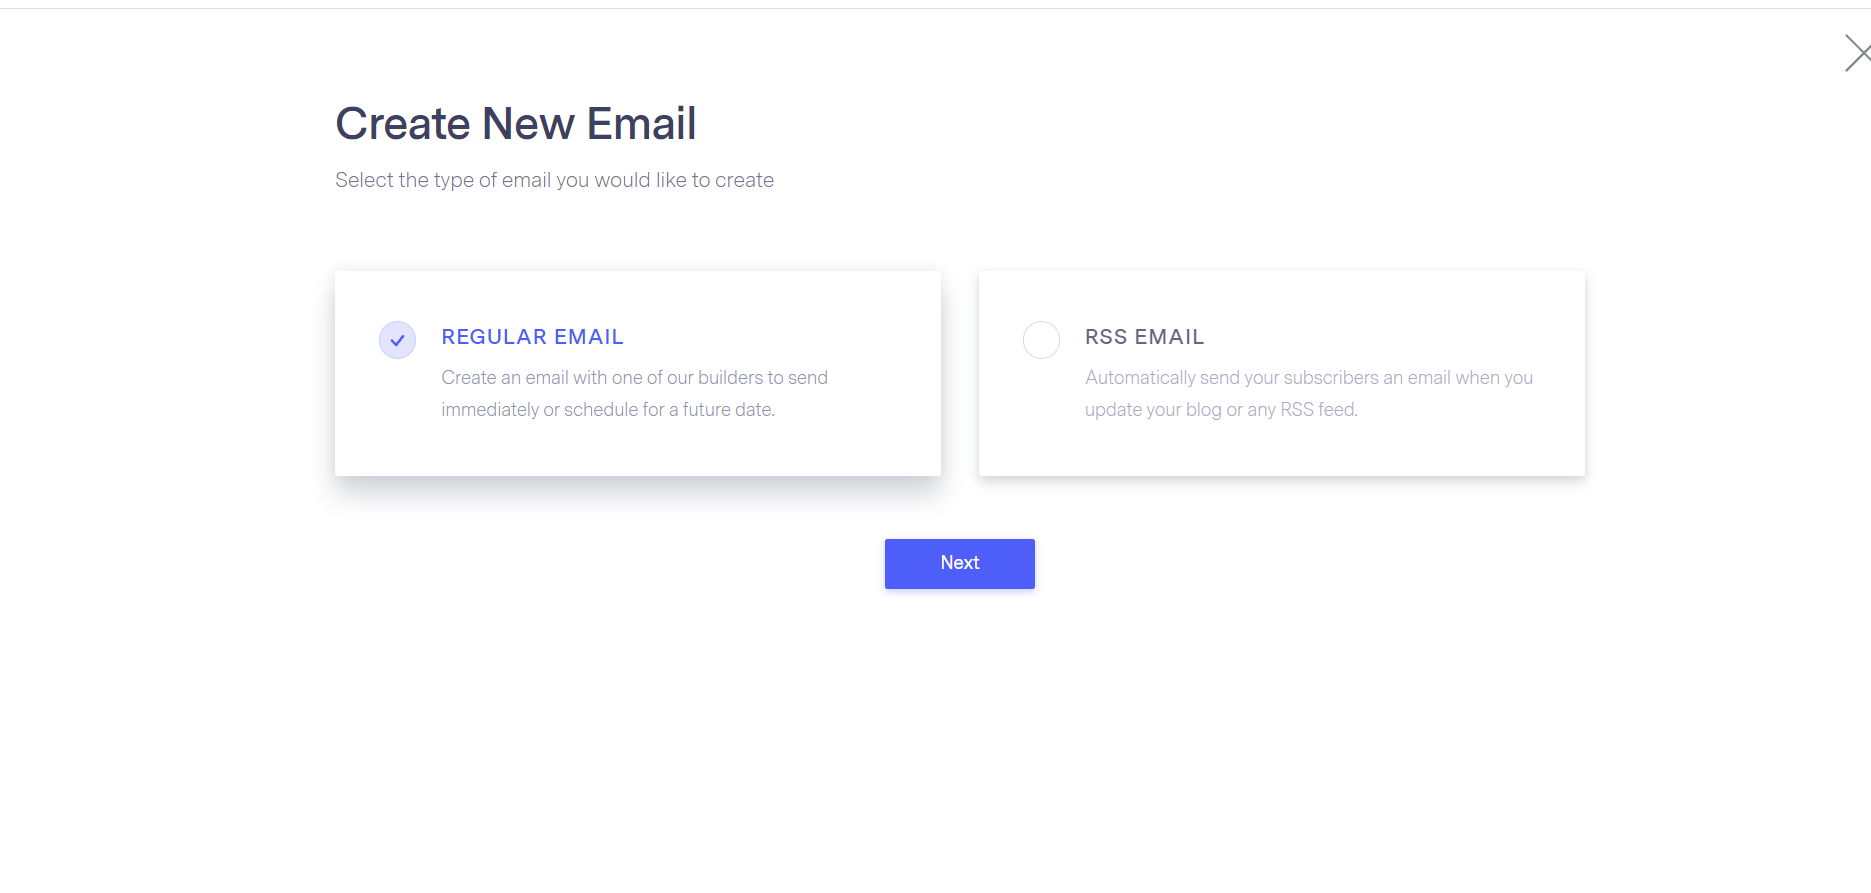
3. Select “Regular Email” and click Next. This opens up a three-option pop-up menu – Drag and Drop Editor, Code Editor, and Plain Text Editor (the code editor lets you add your existing HTML codes to create your email.)
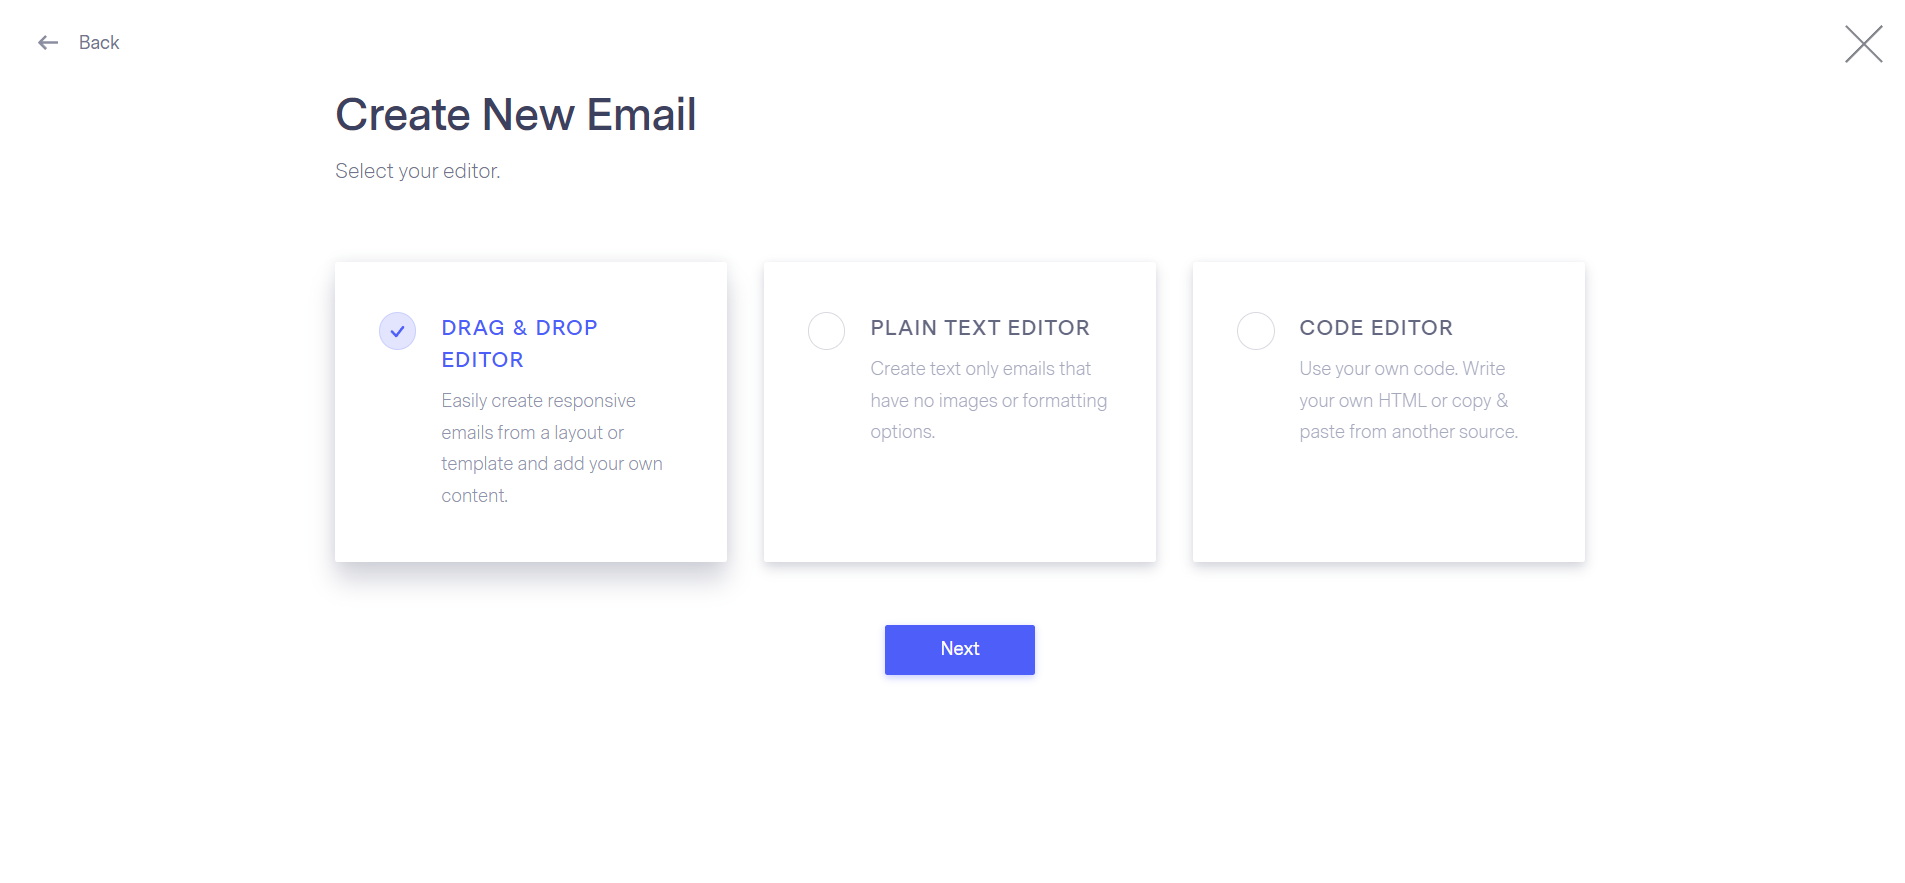
4. Click on the “Drag & Drop Editor” and click Next. This takes you to a page to name the HTML email you are about to create.
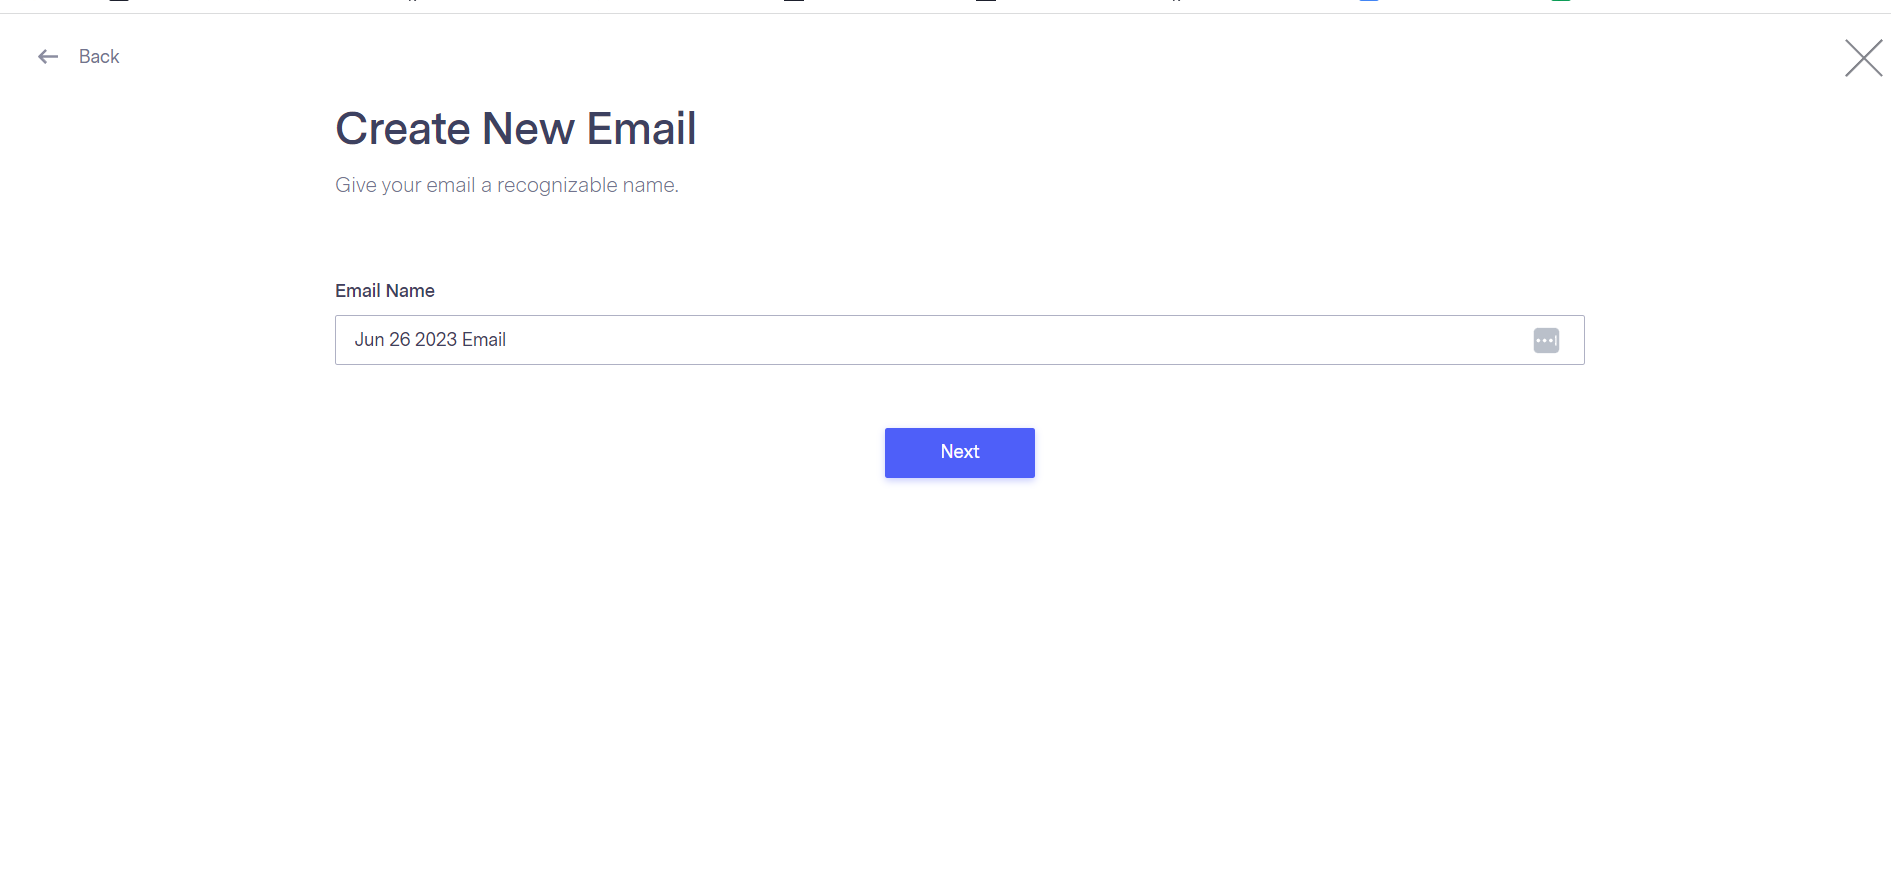 5. Enter the email name (visible only to you and not email recipients) and click Next. The next page is the email checklist.
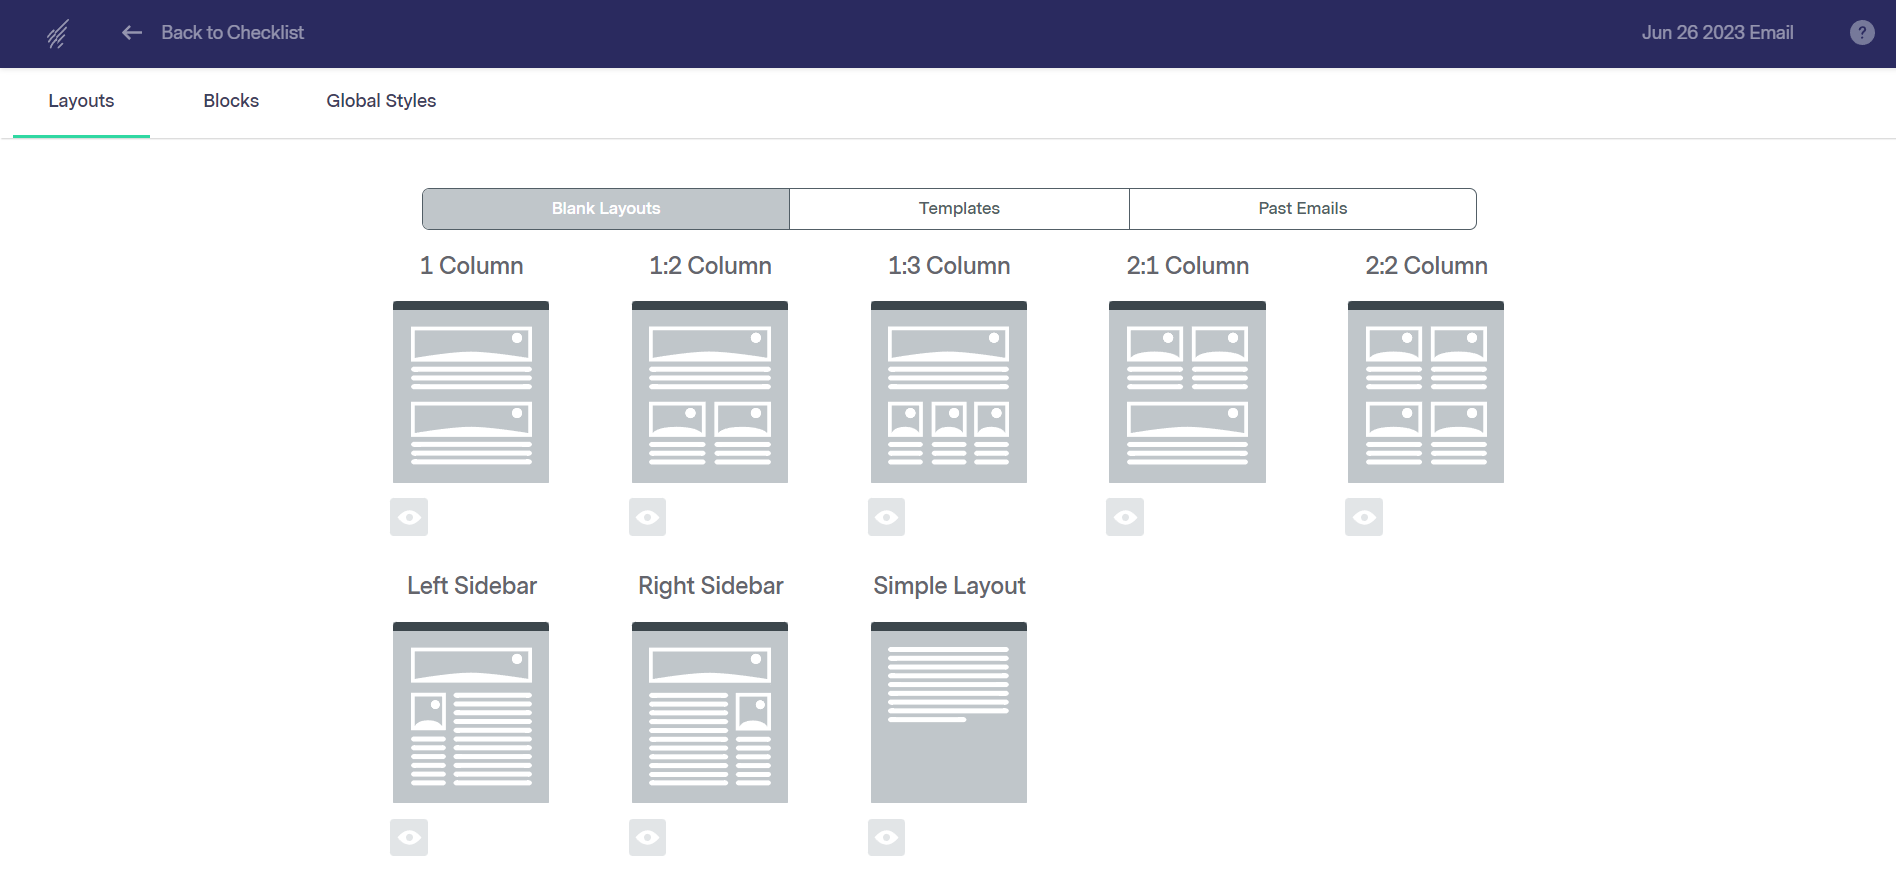
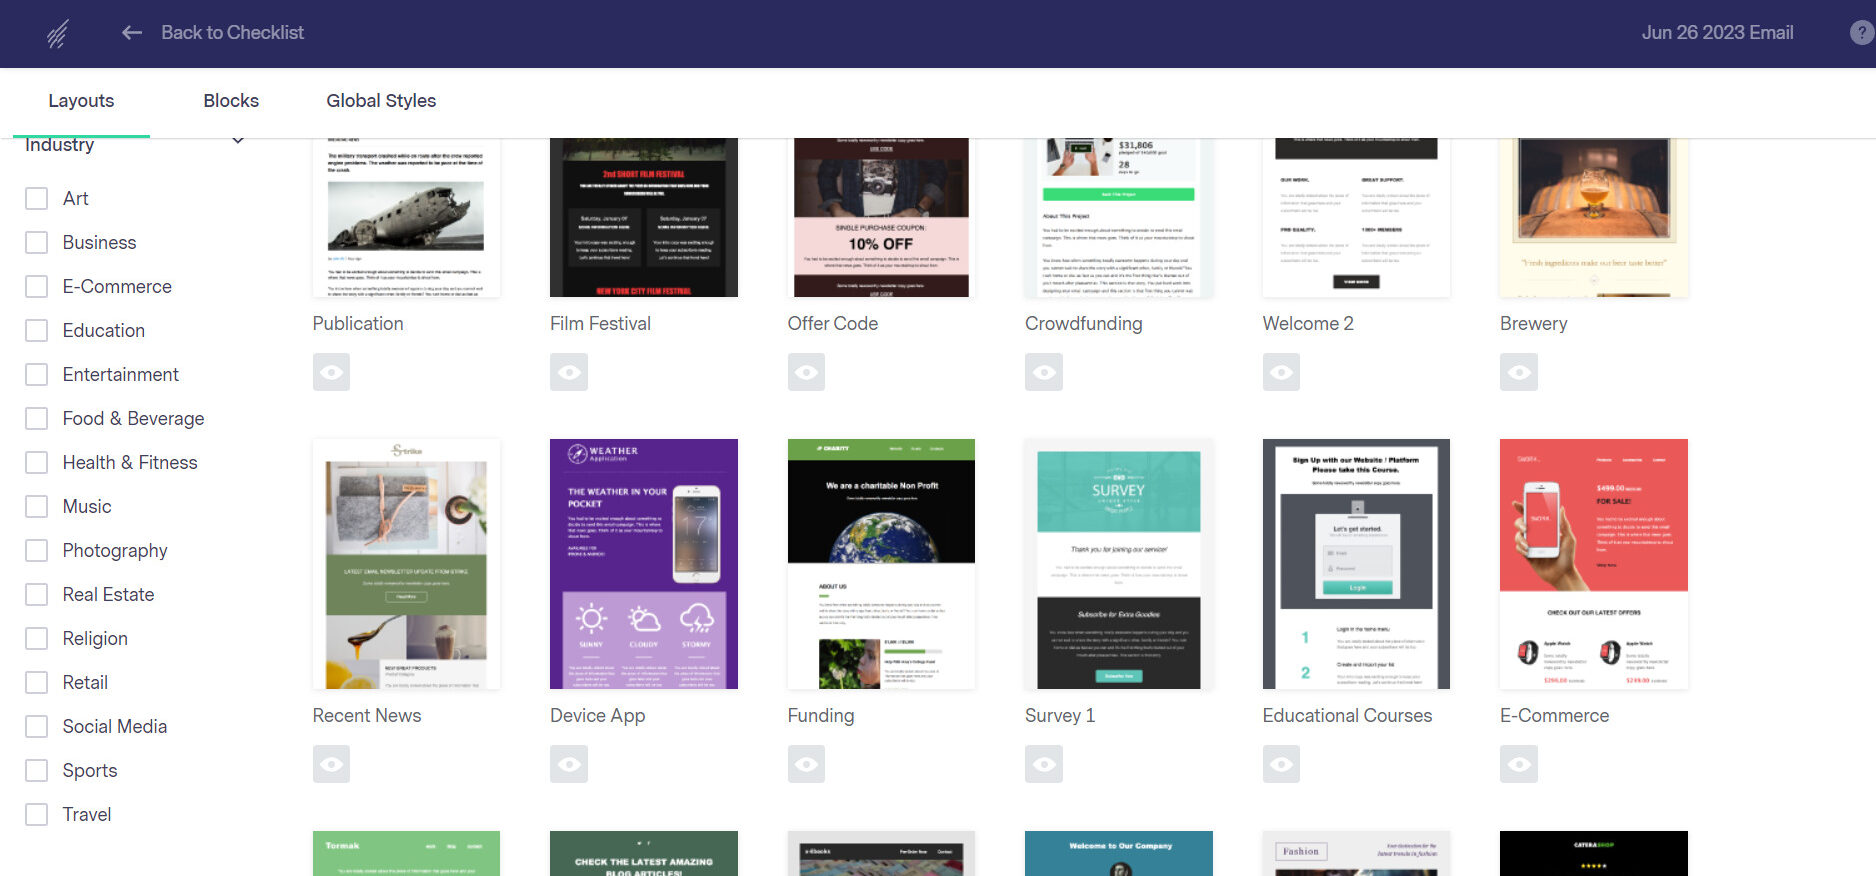
6. Next, pick your layout preference. You can choose from eight layouts or select one of our pre-made templates to customize. If you choose one of our templates, you can do so depending on the industry and holidays.
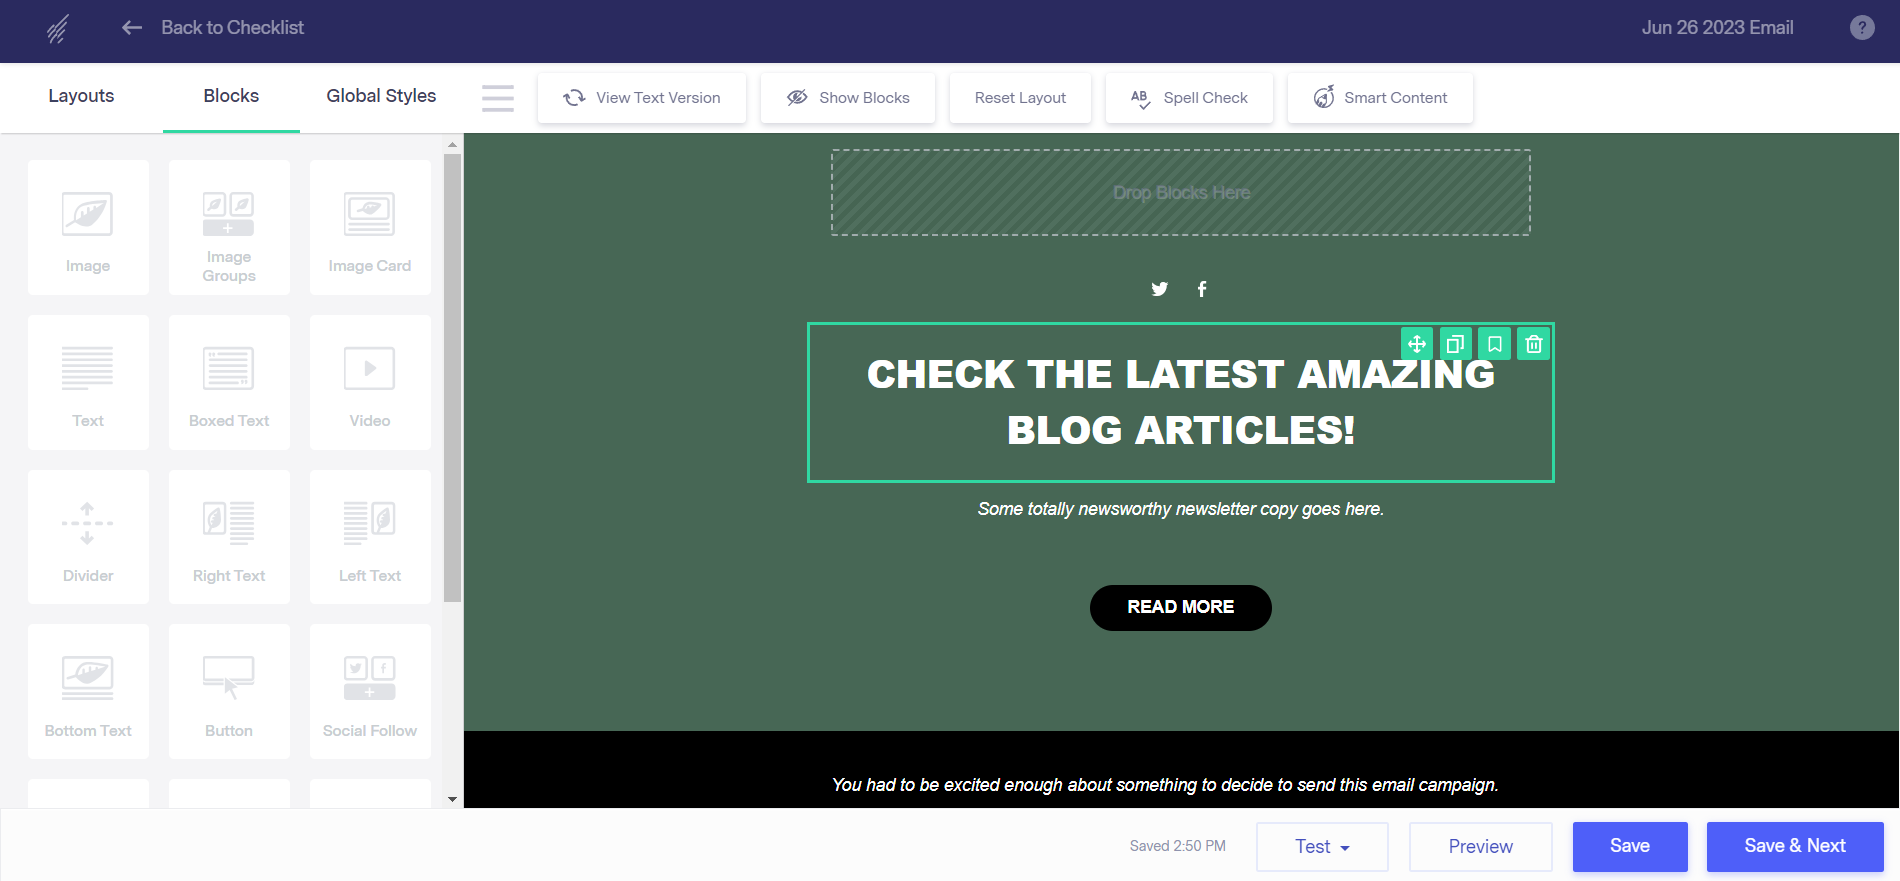
7. If you choose the layout option, you can customize your template using our drag-and-drop builder. You can add images, your logo, and buttons, social icons, and eCommerce features to help promote your products.
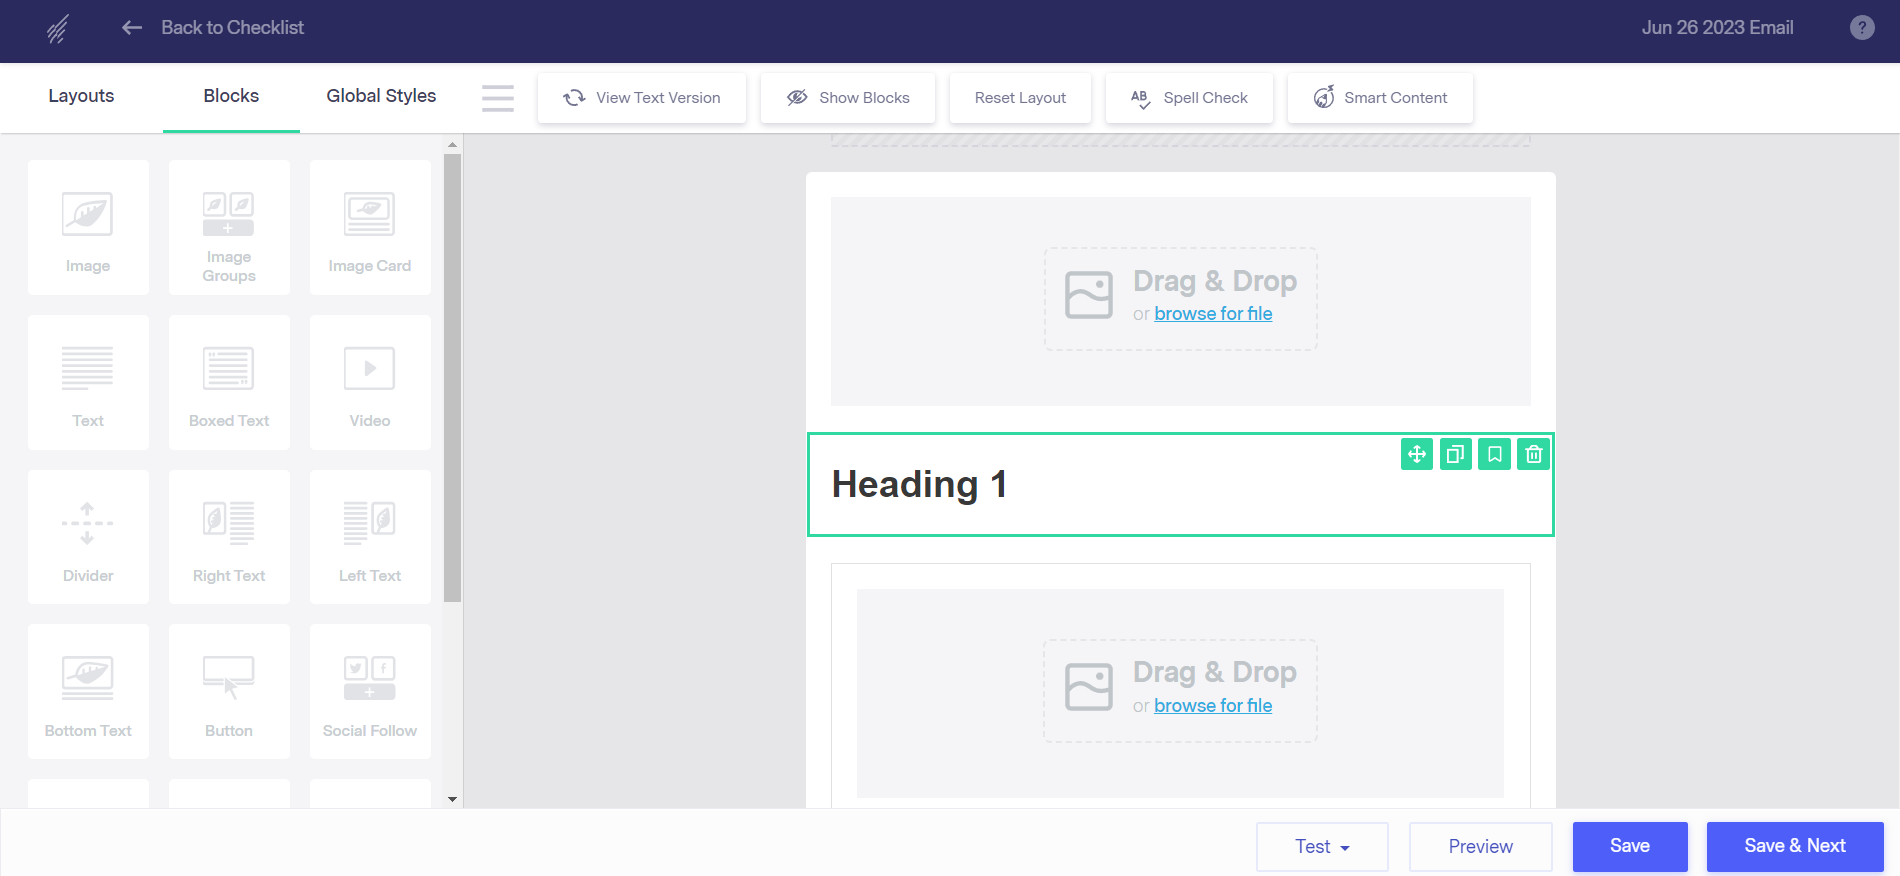
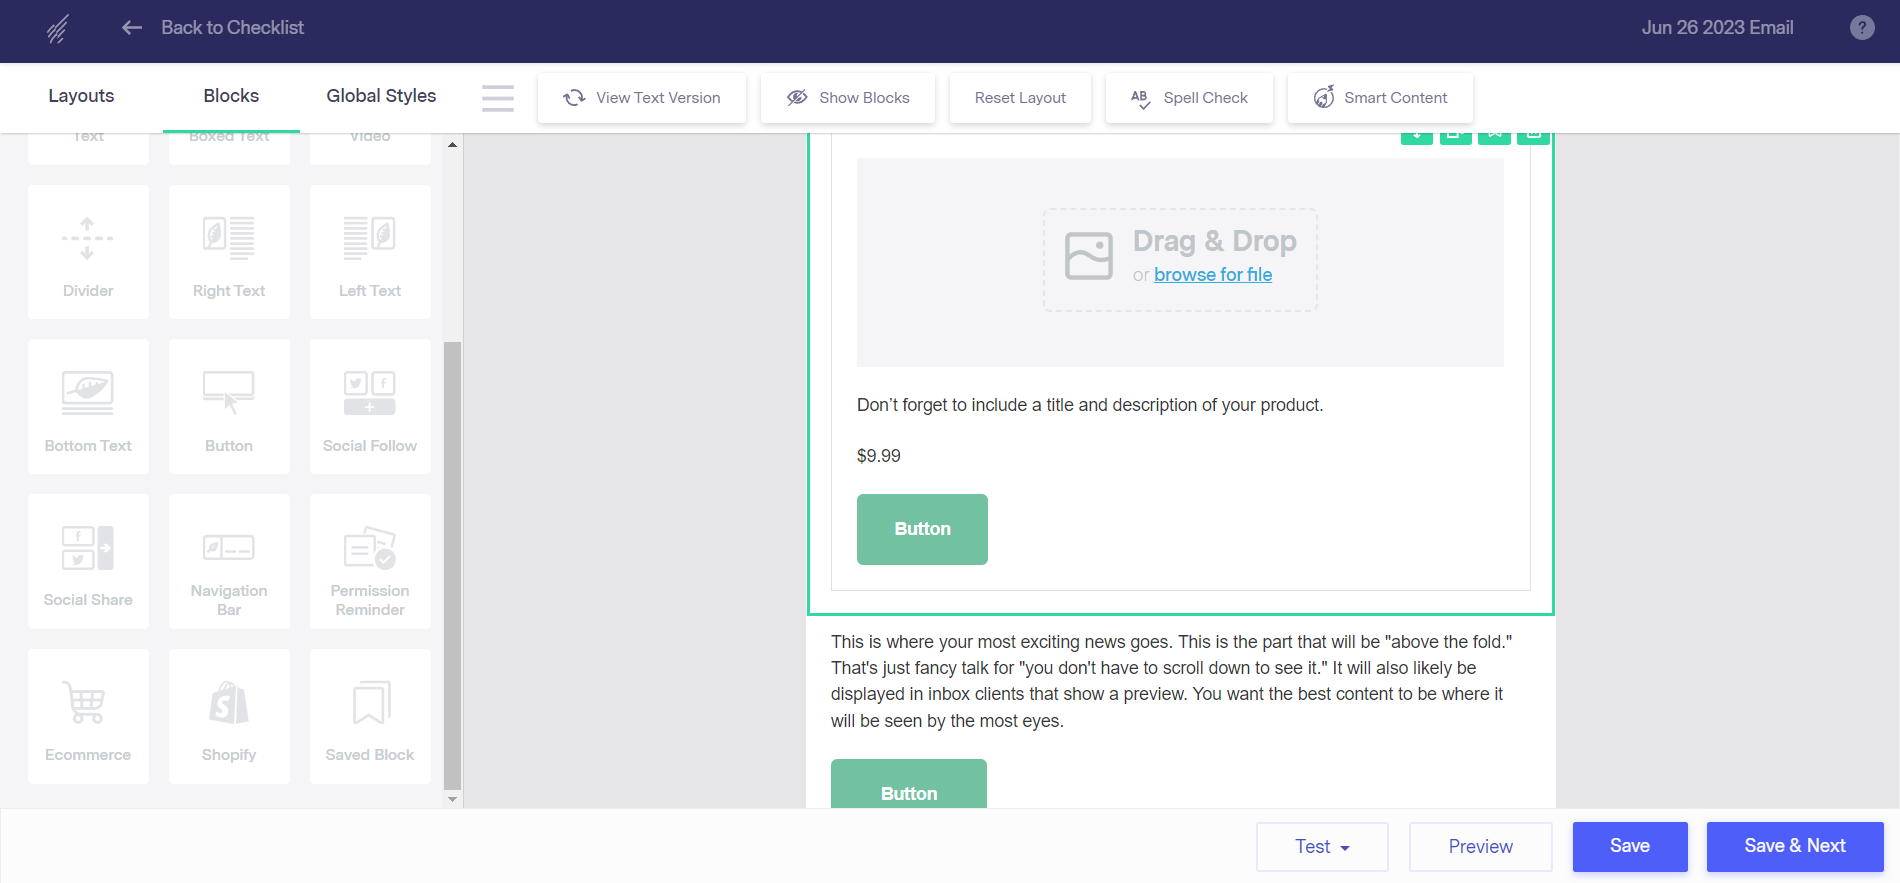
If you choose one of our existing templates, you can adjust the content and add images and your company logo as well.
8. Once you’re done designing your HTML email, click “Save & Next.” You’ll be directed to the email checklist page. On the email checklist page, fill in the information for each item and customize other options.
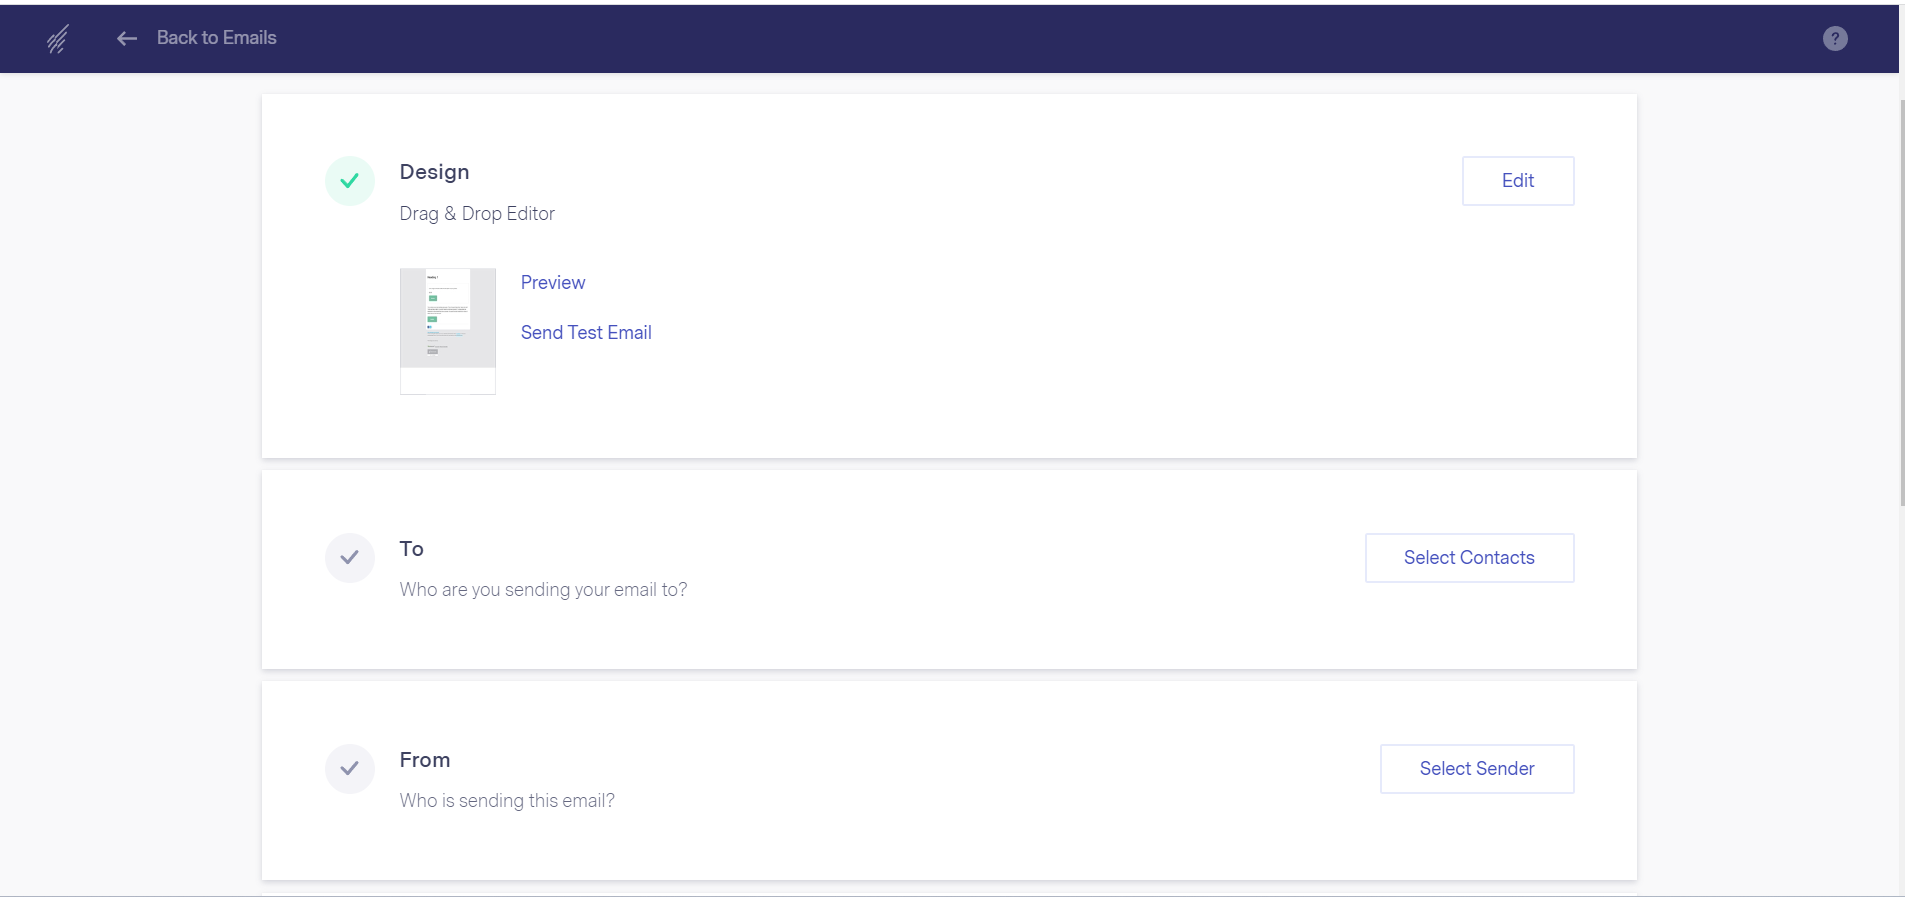
The checklist page features:
- DESIGN: Since you’ve already designed your email, you should be all set here. But, if you want to make any adjustments, you can select edit and adjust accordingly. After creating a satisfactory design, you can preview your email and send a test email, which we always recommend.
- TO: The contacts you are sending the email to. You can choose a predefined list or create a new one and exclude contacts from selected lists.
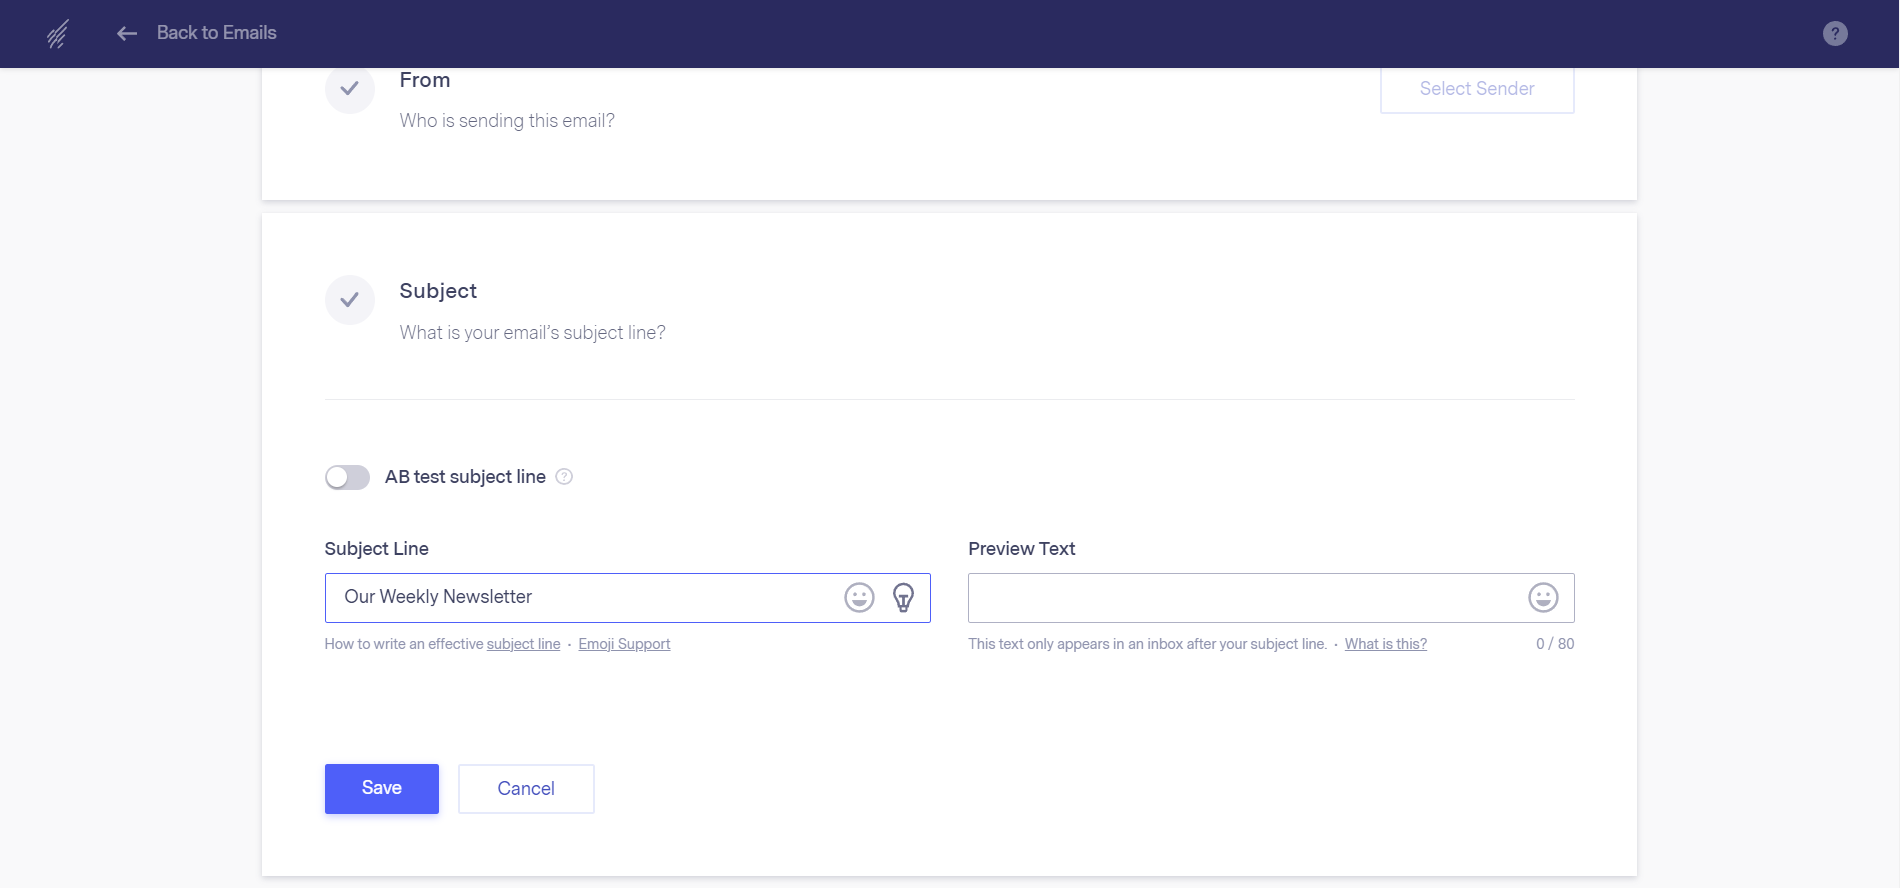
- FROM: Who is sending the email? You can change the display name, select the email address to send from and choose a separate reply email.
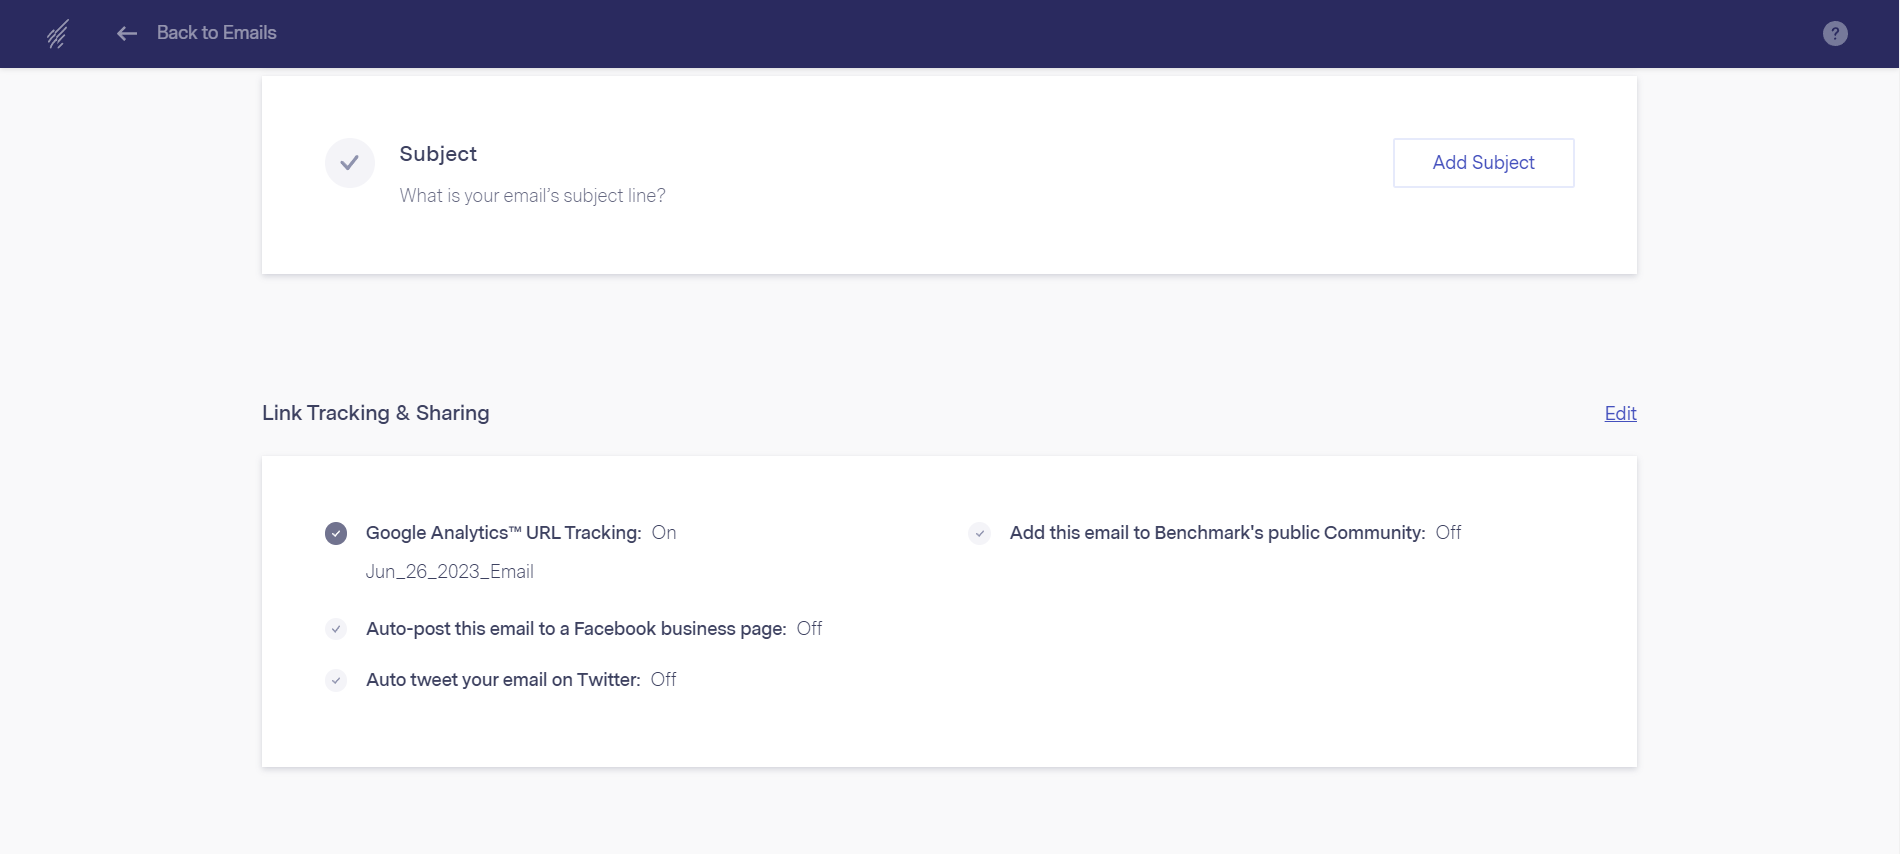
- SUBJECT and PREVIEW TEXT: Enter the subject of the email. Use the preview field to include an engaging preview text that recipients will see in their inboxes. If you’re experiencing writer’s block, click the lightbulb icon to activate our Smart Content feature, which will help by creating some ideas for you.
- LINK TRACKING AND SHARING: You can enable Google Analytics if you have one set up for tracking. Turn on analytics and input your tracking code in the field. There are options to share your email automatically to Twitter, your Facebook business page, Benchmark’s public community for Benchmark users, and the option to add to your Benchmark archive.
Once all checklists have been fulfilled, click on Send Immediately or Schedule on the top-right, depending on your preference. Sending immediately will send the email to selected contacts within 10 minutes, while the schedule option allows you to choose a future date, time, and time zone for sending the email.
There you have it! A step-by-step guide for creating engaging emails using Benchmark Email for your business.
HTML emails don’t have to be complicated, time-consuming, and technical. With our easy-to-use drag-and-drop email builder and comprehensive HTML email template library, creating HTML-responsive emails becomes simple and fun. Try it out today by signing up for a free account here.
