


This blog post was last updated on 9/18/25.
Email marketing remains a vital component of digital marketing strategies, offering a direct line to your audience’s inboxes. However, crafting visually appealing emails that captivate and engage can be challenging, especially without extensive design experience.
This is where Canva comes in – a user-friendly graphic design tool that simplifies the creation of email templates.
In this article, we’ll guide you through using Canva to create a visually captivating email. We’ll focus on using multiple images effectively while ensuring your emails are accessible and deliverability-friendly.
Canva: an email design guide
When it comes to using Canva for email design, there are essentially two routes you can go. You can use their email templates to craft an entire email, or you can use their image creator to put together unique, interesting images to add to an existing email design. The latter is an option if you’re using email marketing software and already have an email template within the software.
We do not recommend creating an entire email template in Canva and uploading it to your email marketing software as an image. This can affect your deliverability, and the image may not be rendered properly for every recipient.
With that in mind, we’ll walk you through how to create images in Canva and how you can use them in your email designs via your email marketing software.
Step 1: planning your email design
Before diving into Canva, plan your email’s layout. Consider which parts will be images and which parts will be text. A good practice is to balance visuals with text to avoid deliverability issues. Plan for headers, product images, or any graphical elements that enhance your message, leaving space for text to be added.
To make this step even easier, select an email template from your email marketing software. This template will designate space for images and text for you while also allowing you to customize and adjust to your liking and branding.
Step 2: setting up your Canva project
- Go to Canva: Navigate to Canva’s website and log in or sign up for a new account.
- Choose Your Format: Click on the “Create a design” button and select “Email Header” to start with a standard size, or choose “Custom size” if you have specific size requirements.

Step 3: designing your email components
Remember, you can select an email template. However, we do not recommend that, as it will export it as an image, and that won’t be great for deliverability and usage from your email marketing software. Instead, we recommend designing images individually.
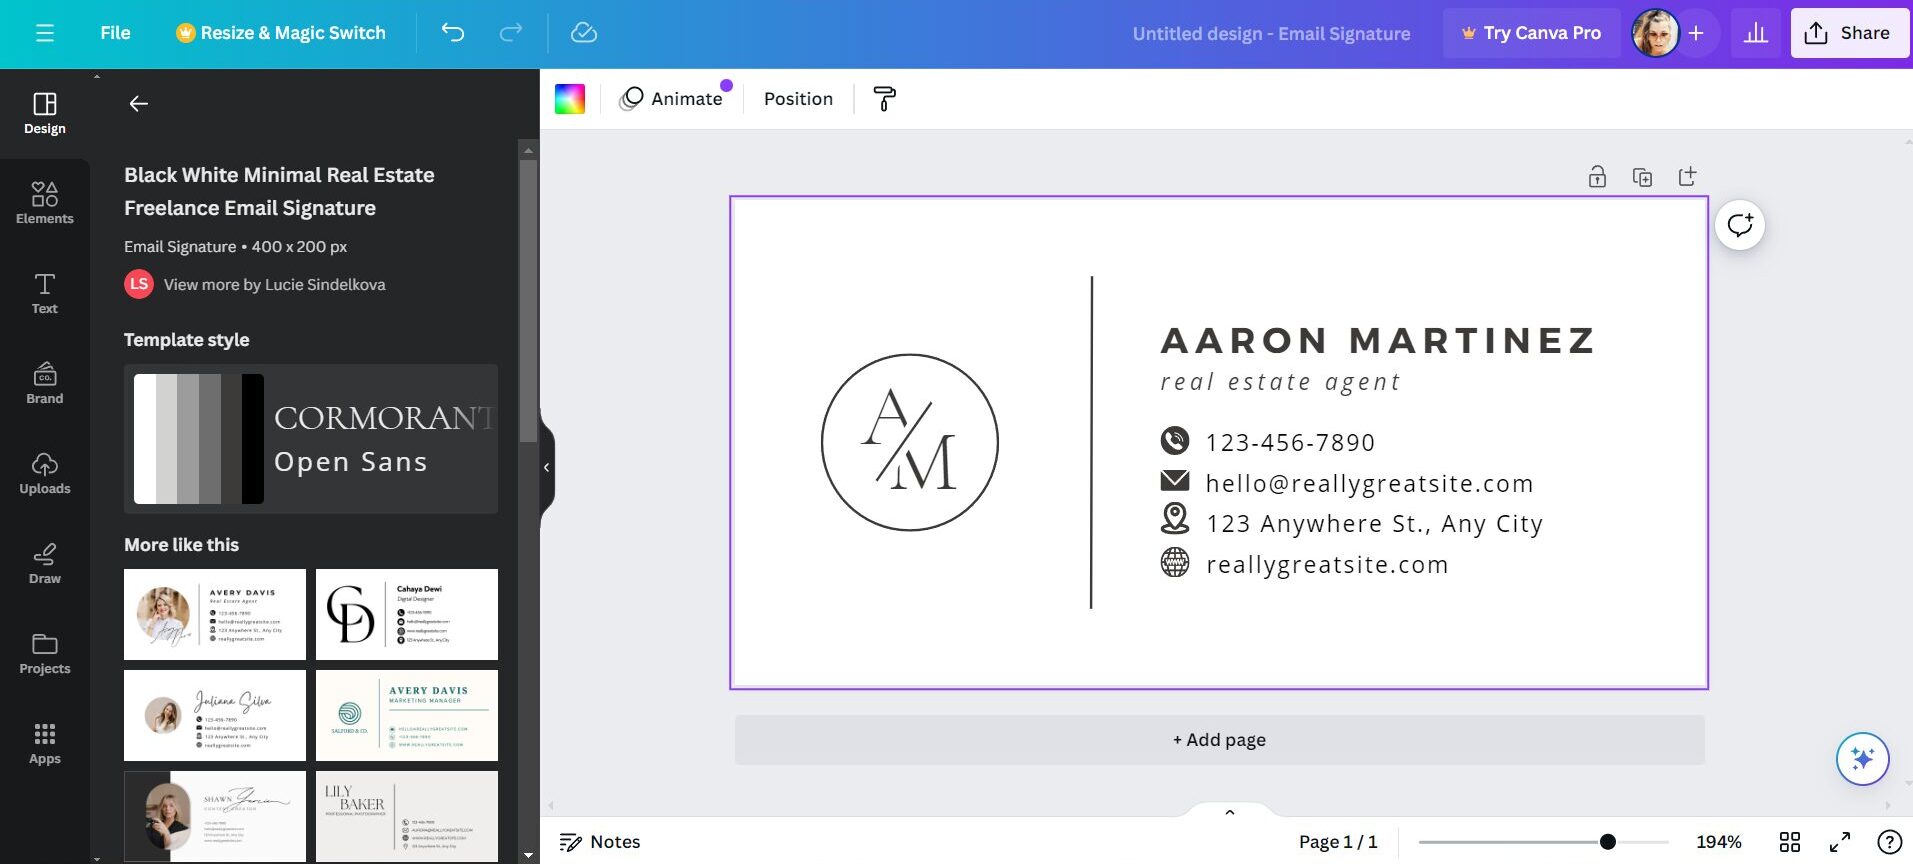
- Customize Your Design: Use Canva’s drag-and-drop interface to add or modify your email marketing elements, such as your custom size image if that’s what you selected, or your email header:
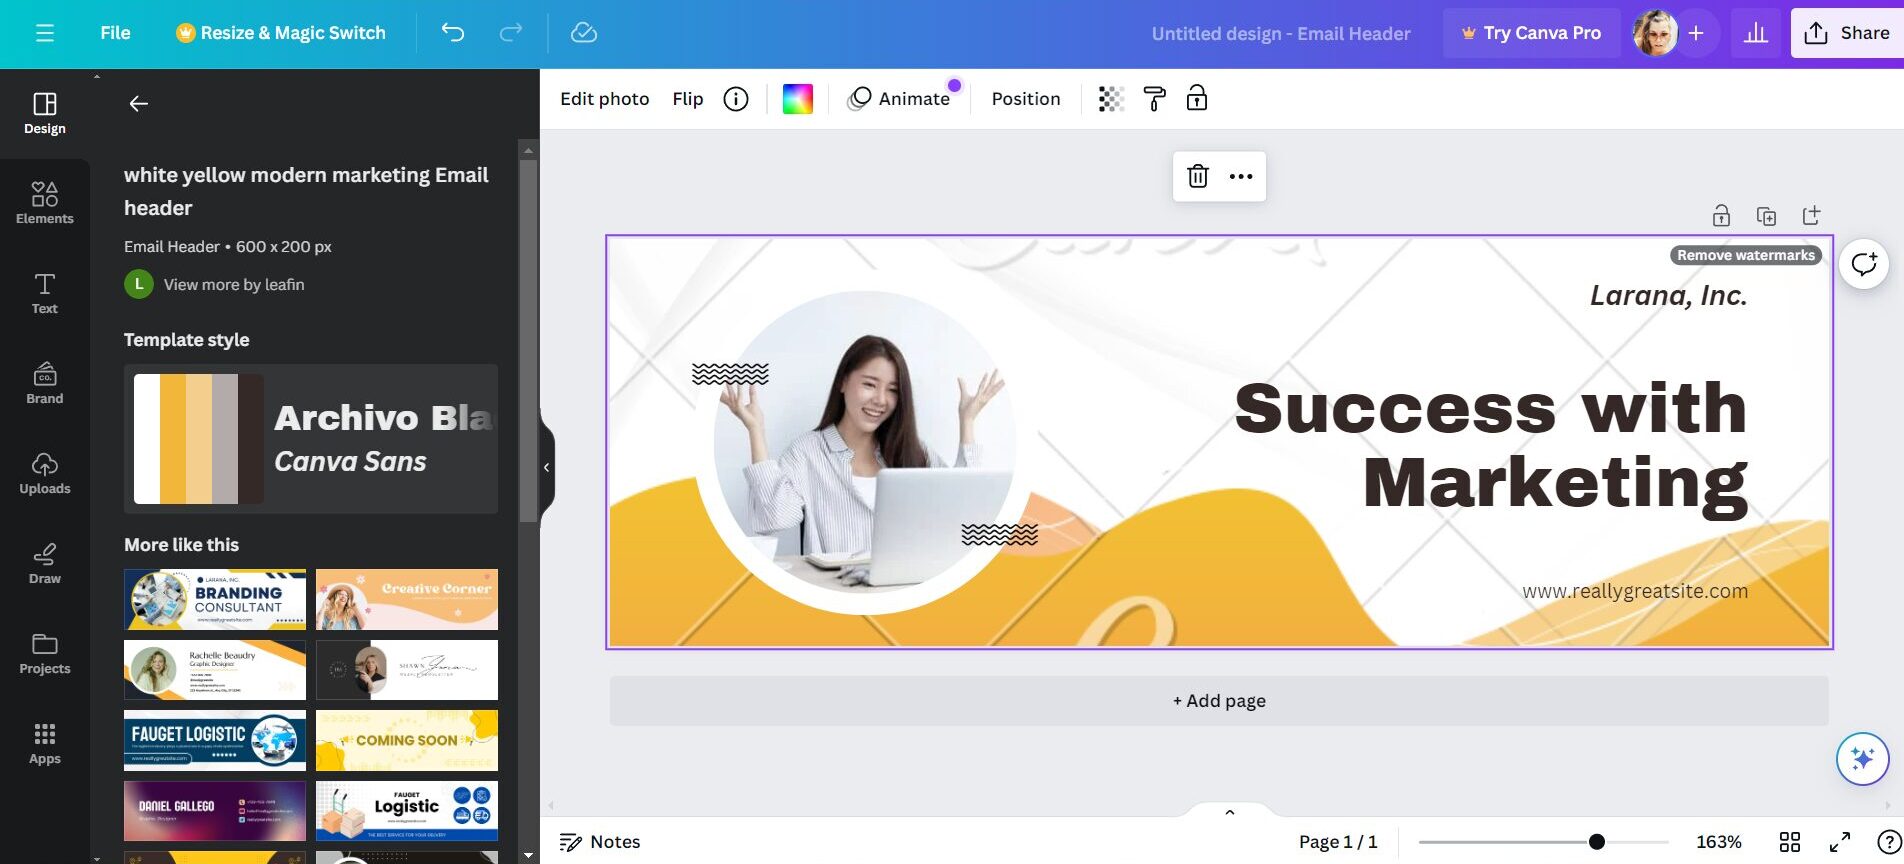
Your email signature:
Or your email logo:

You can adjust and modify things like:
- Background: Choose a color or pattern.
- Text: Although you’ll add most of your text in your email editor, you might want to create textual graphics or call-to-actions (CTAs) as images.
- Images: Upload your own images or choose from Canva’s library.
- Elements: Incorporate shapes, lines, or icons to add visual interest.
Step 4: creating multiple images for your email
You’ll most likely want to include more than one image in your email, so this step will walk you through how to create multiple images to add to your email template.
- Design Separately: Create each visual component as a separate project in Canva (e.g., header, footer, product images). This approach allows you to export each element individually, giving you flexibility when assembling your email in your marketing software.
- Keep Consistency: Ensure all components share a cohesive design theme, including colors, fonts, and styles, to maintain brand consistency.
Step 5: exporting your designs
Once you’re satisfied with your designs, it’s time to export each component:
- Click the ‘Share’ Button: Located at the top right corner of the screen.
- Select ‘Download’: Choose PNG for high-quality images or JPEG for a smaller file size.
- Export Each Component Separately: Make sure to download each design element individually by selecting them in your projects list and repeating the download process.
Step 6: assembling your email in your marketing software
With all your visual components ready, it’s time to assemble your email in your chosen email marketing software. Here’s how to do it effectively:
- Create a New Email Campaign: Open your email marketing software and start a new email campaign or new email design.
- Upload Your Images: Select your email template and insert the images you created in Canva into the appropriate sections of your email template.
- Add Your Text: Now, integrate your text content directly using the email editor. This ensures that your text remains searchable, selectable, and accessible, avoiding the pitfalls of text within images.
- Adjust for Balance and Flow: Ensure there’s a harmonious balance between text and images, optimizing for both engagement and deliverability.
Best practices for using Canva with email marketing
- Accessibility: Always add alt text to images when assembling your email in the marketing software to ensure accessibility for users with visual impairments.
- Deliverability: Maintain a healthy image-to-text ratio to avoid being flagged as spam by email providers.
- Mobile Responsiveness: Check how your email displays on mobile devices, making adjustments as needed to ensure it looks great on any screen. If you’re using email marketing software, your email should automatically be mobile-friendly.
- Testing: Utilize your email marketing software’s testing feature to see how your email appears in different email clients before sending it out.
Frequently Asked Questions
Will too many Canva images hurt my email deliverability?
It can. Spam filters flag emails that are mostly images. Aim for about 60 % text and 40 % images, compress large files, and always add alt text. Benchmark Email’s testing tools let you preview deliverability before you hit send.
Can I build my whole email in Canva and send it with Benchmark Email?
We don’t recommend it. Canva is great for making images—headers, banners, or buttons—but a full-image email can hurt deliverability and won’t resize well on every device. Design your visuals in Canva, then build the email itself inside Benchmark Email so your text stays readable, accessible, and easy to edit.
How do I move a Canva design into my Benchmark Email?
After finishing your design, click Share > Download in Canva and choose PNG or JPG. In Benchmark Email, open your campaign, drag an Image block into place, click Upload, and select your file. Add descriptive alt text and keep the width under 600 px for quick loading.
Can I paste a Canva email template into Gmail?
You can paste a downloaded image into Gmail, but it behaves like one big picture—links, alt text, and tracking won’t work. For newsletters or promotions, build the email in Benchmark Email instead so you can add links, track results, and keep the message responsive.
Canva is a powerful tool for creating visually appealing components for your email campaigns, but the key to effective email marketing lies in how these elements are integrated with text in your email marketing software. By following this step-by-step guide, you can harness the best of both worlds: Canva’s design capabilities and the flexibility and accessibility of text-based emails. This approach ensures your emails are not only beautiful but also functional, accessible, and deliverable, helping you achieve better engagement and deliverability.
About the Author:

Content Marketing Manager | Content marketing, inbound funnel, social media, email nurture | Natalie Slyman is an experienced Content Marketing Manager at Benchmark Email with a strong B2B background and a knack for crafting pillar content that boosts SEO and brand authority. She regularly shares actionable insights—from remote-work strategies to AI-powered content workflows—via blog posts and webinars tailored for busy marketers.