Among the most potent integrations for email marketing is Benchmark Email with Salesforce. This integration allows for seamless data flow, automated campaigns, and enhanced analytics, ultimately driving better engagement and ROI.
In this article, we’ll delve into the importance of this integration, explore the core functionalities of Benchmark Email and Salesforce, outline the integration capabilities, and provide best practices for a successful setup.
Importance of the Integration
The integration of Benchmark Email with Salesforce is a game-changer for businesses looking to streamline their marketing efforts and improve customer engagement. By combining Benchmark Email’s robust email marketing capabilities with Salesforce’s comprehensive CRM features, businesses can achieve a more cohesive and effective marketing strategy. This integration enables automated email campaigns based on CRM data, synchronized contact information, and detailed performance analytics, ensuring that marketing efforts are targeted and data-driven.
Overview of Tools
Let’s examine each tool’s offerings to get a clearer idea of how integrating them will benefit your marketing efforts.
Benchmark Email
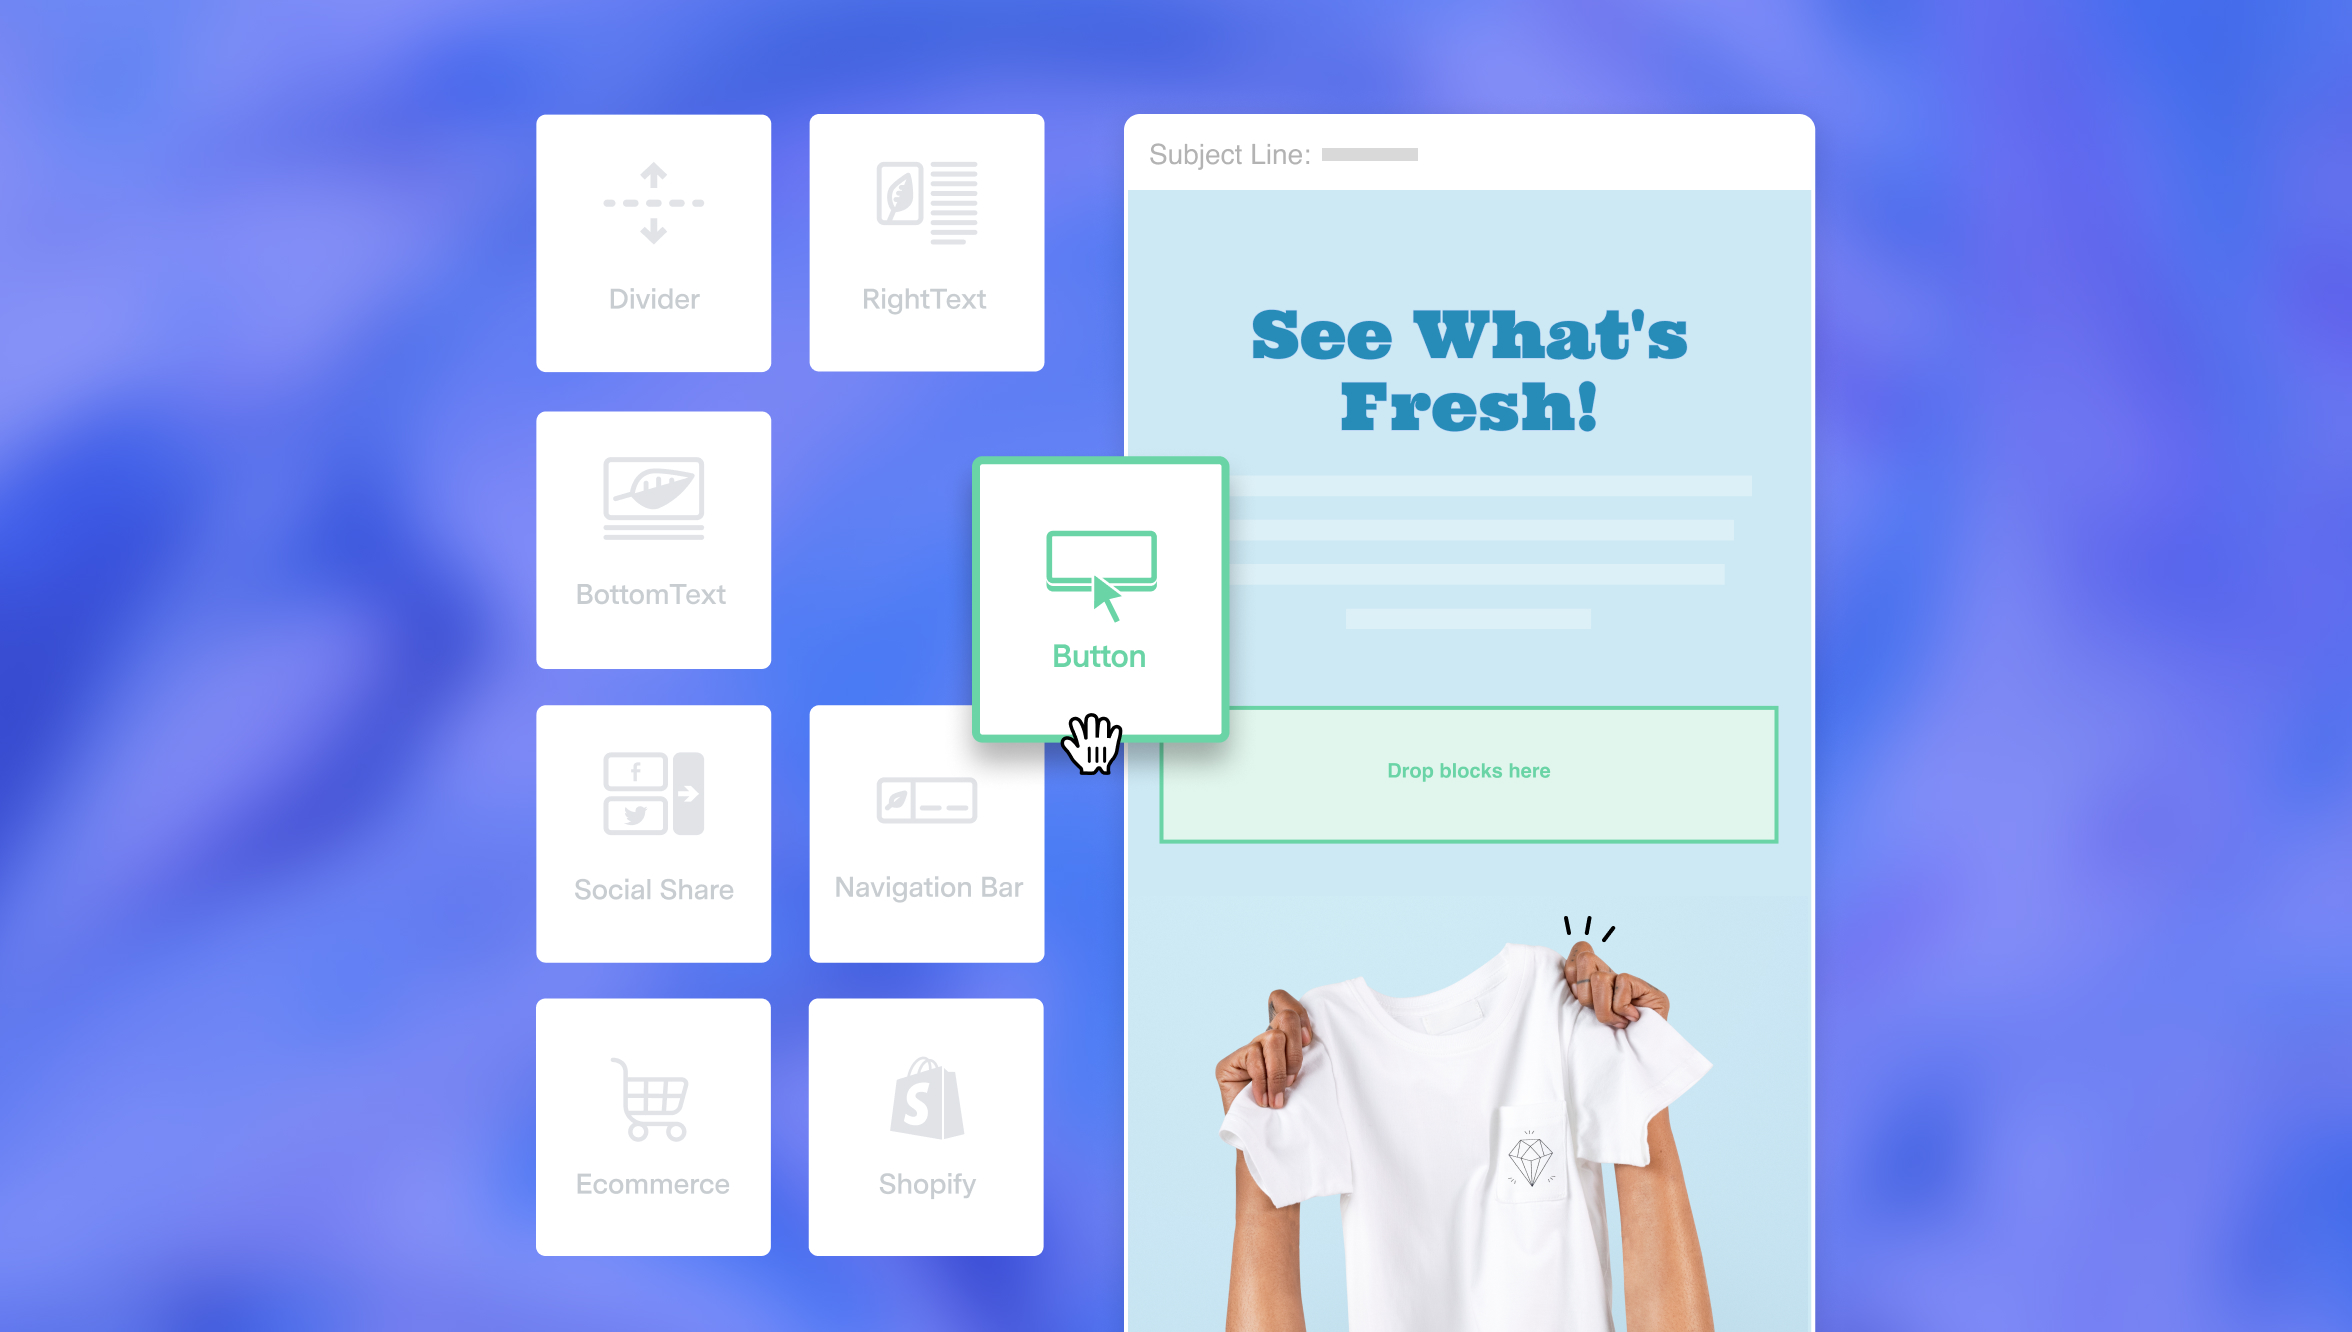
Benchmark Email is a powerful marketing platform designed to help businesses create, send, and optimize email campaigns. With features such as drag-and-drop email builders, automation workflows, A/B testing, and detailed reporting, Benchmark Email empowers marketers to craft compelling email campaigns that drive engagement and conversions.
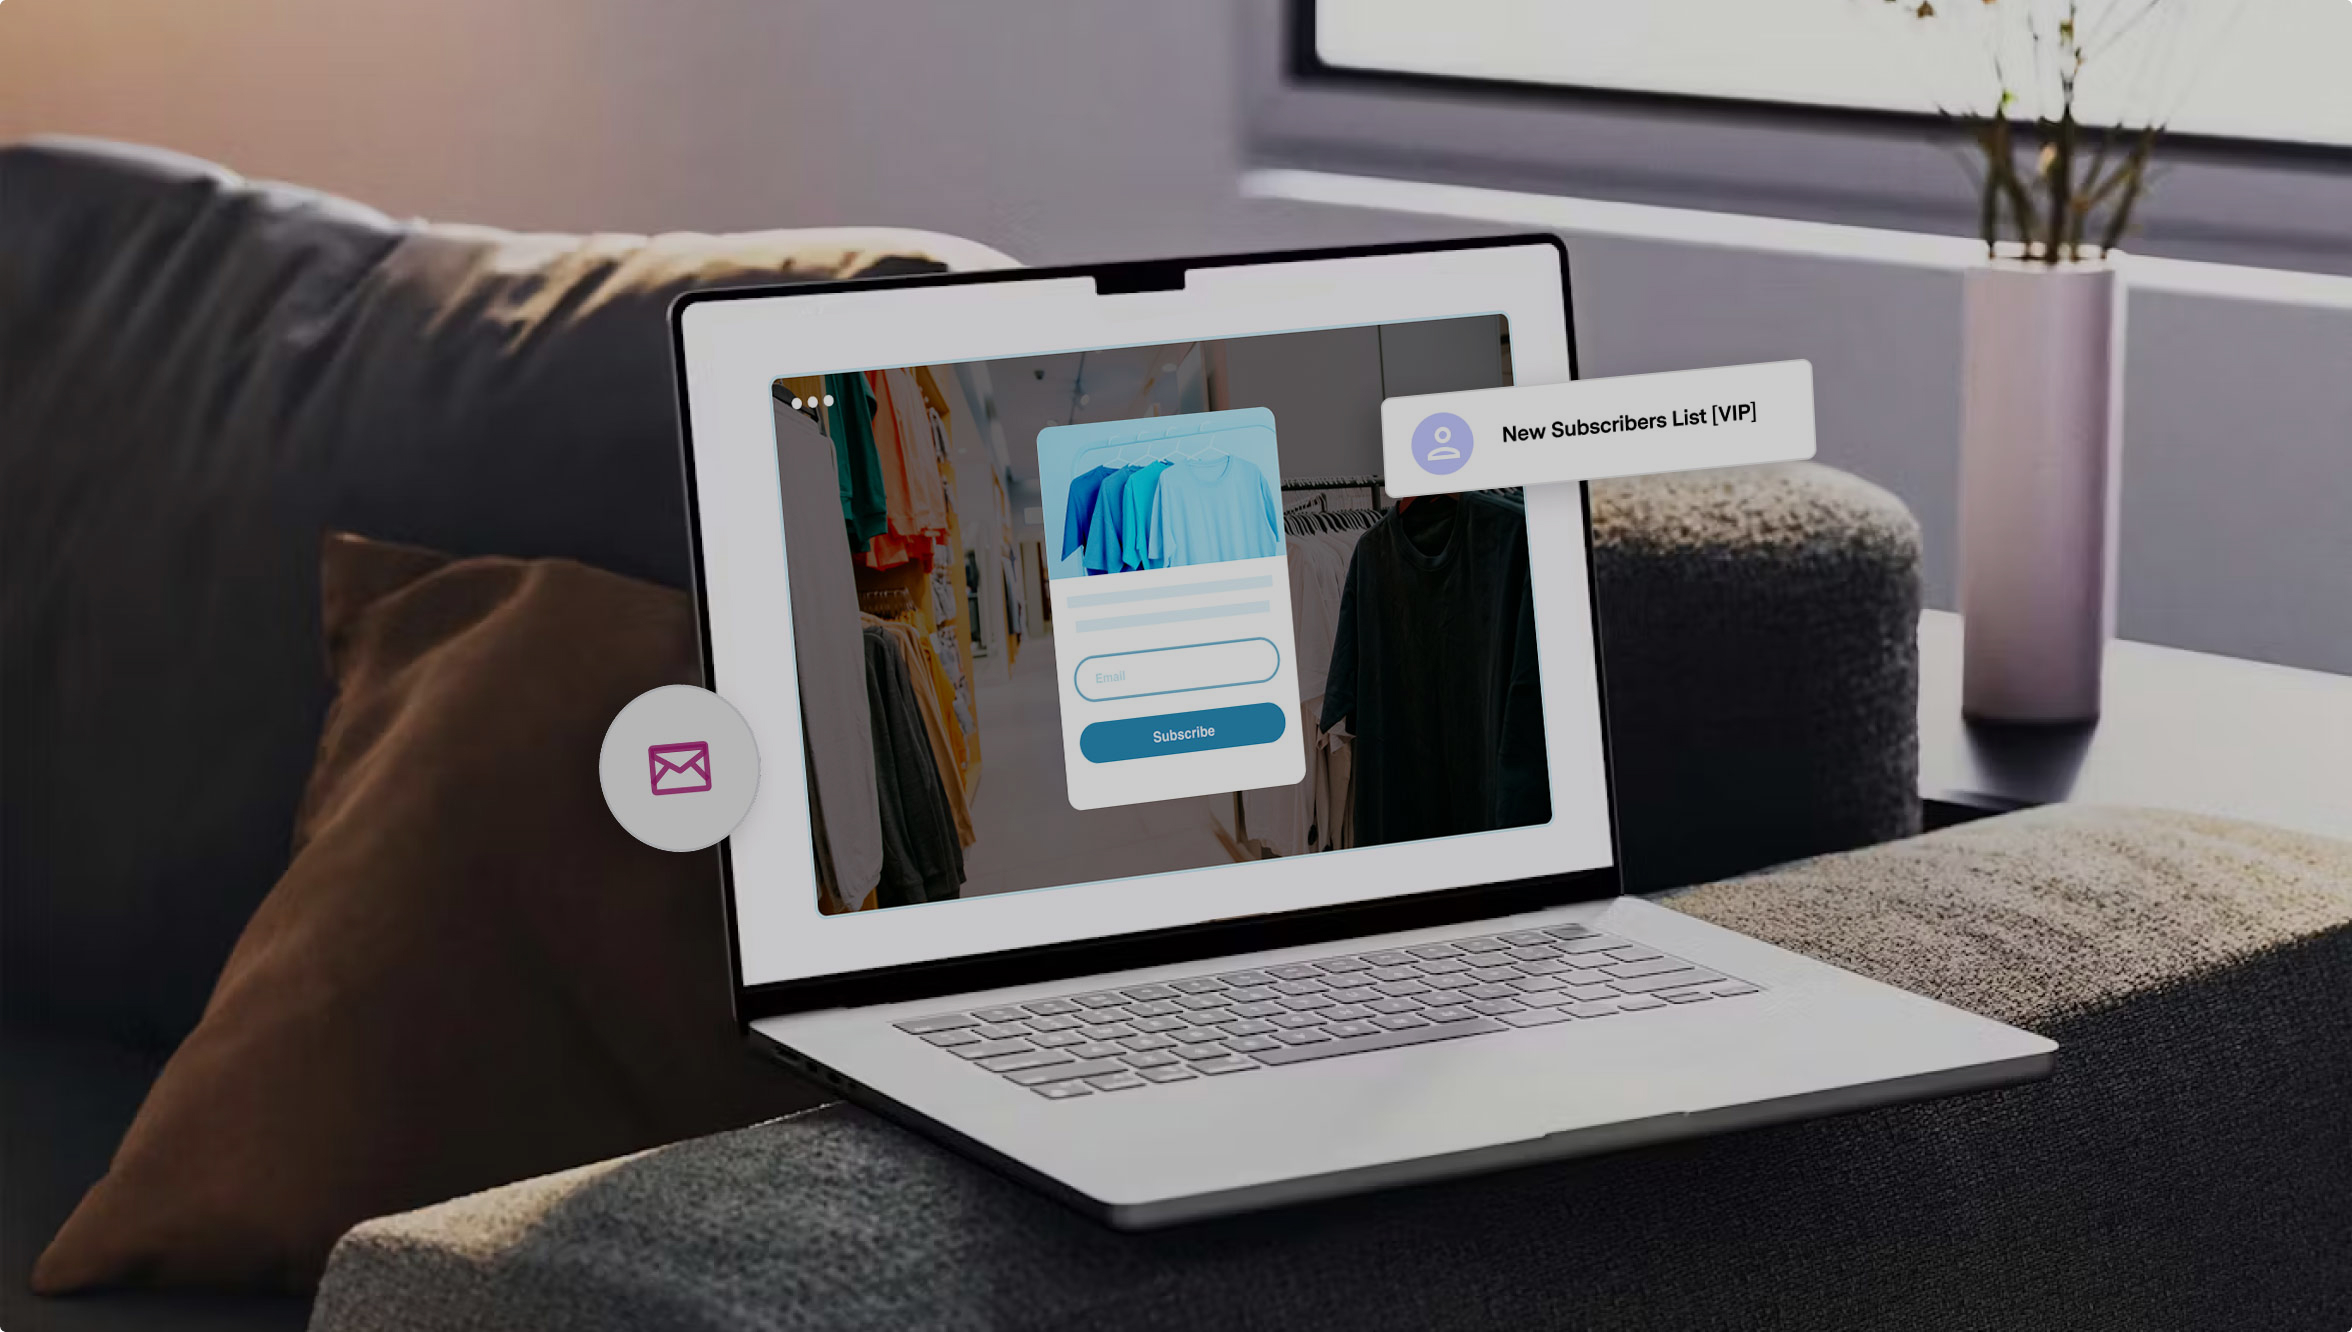
Benchmark Email also enables users to build their email list with simple website forms and landing pages to increase their subscribers and lead pool.
Salesforce
Salesforce is a leading CRM platform that offers tools for managing customer relationships, sales processes, and business operations. With capabilities ranging from contact and lead management to sales forecasting and customer service, Salesforce provides a comprehensive solution for businesses to manage their interactions and data effectively.
Integration Capabilities
Integrating Benchmark Email with Salesforce unlocks a plethora of capabilities that enhance marketing efficiency and effectiveness:
- Automated Email Campaigns: Automatically trigger email campaigns based on specific actions or milestones in Salesforce, such as new leads or customer anniversaries.
- Synchronized Contact Data: Sync data between Salesforce and Benchmark Email to ensure that your contact lists are always up-to-date. This reduces manual data entry and minimizes errors.
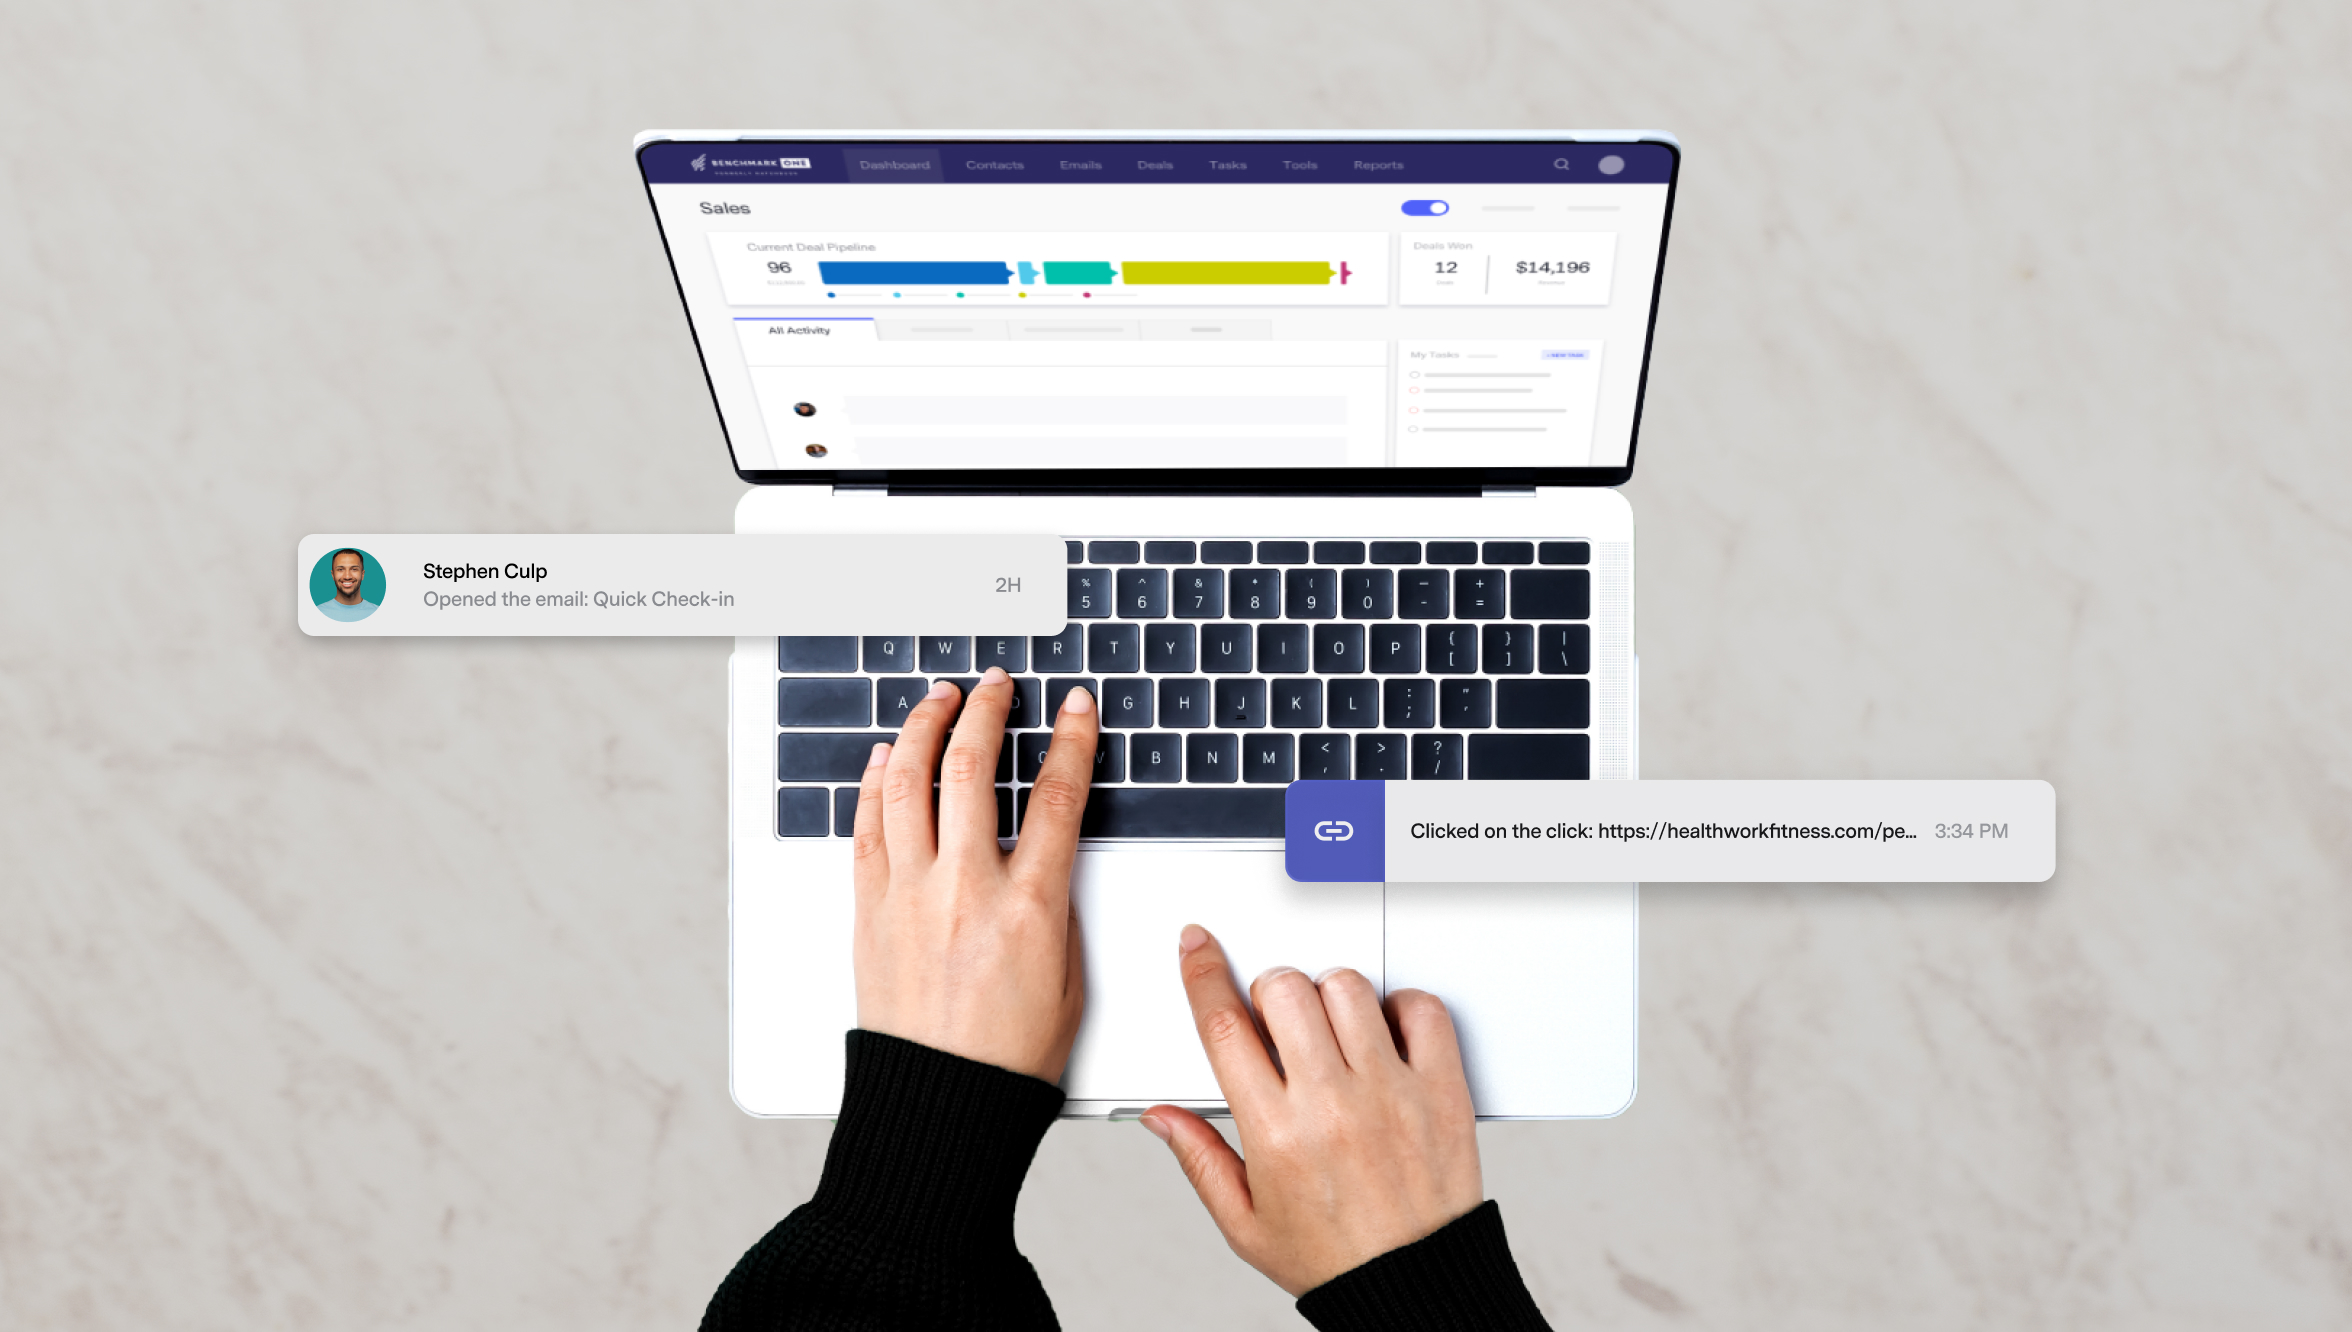
- Detailed Analytics: Leverage Benchmark Email’s analytics alongside Salesforce’s reporting tools to gain insights into your email campaigns’ performance. This allows for a comprehensive view of customer interactions and campaign effectiveness.
- Segmentation and Personalization: Use Salesforce data to create highly targeted and personalized email campaigns in Benchmark Email, improving engagement and conversion rates.
Data Cleaning
Before integrating Benchmark Email with Salesforce, it’s crucial to clean and organize your Salesforce data. Clean data ensures your email campaigns are accurate and effective, preventing duplicate contacts, outdated information, and segmentation errors. Here are some tips for data cleaning:
- Remove Duplicates: Identify and merge duplicate contacts to maintain a clean and accurate contact list.
- Update Information: Regularly update contact information to ensure you have the most current data.
- Standardize Fields: Ensure data fields are standardized across your Salesforce instance to avoid inconsistencies during synchronization.
Access and Permissions
To facilitate seamless data flow between Benchmark Email and Salesforce, it’s essential to configure the necessary permissions in both platforms. Ensure that users involved in the integration process have the appropriate access levels to perform tasks such as data synchronization, campaign management, and reporting. This includes:
- Salesforce Permissions: Grant the necessary permissions to users to access and manage contacts, leads, and other relevant data.
- Benchmark Email Permissions: Ensure users have the appropriate access to create and manage email campaigns, view analytics, and configure integrations.
Step-by-Step Guide to Setting Up the Integration
Integrating Salesforce with Benchmark Email using Zapier allows you to automate workflows between the two platforms. Here’s a step-by-step guide to set up this integration:
Step 1: Create a Zapier Account
- Go to Zapier’s website.
- Sign up for a free account if you don’t have one, or log in to your existing account.
Step 2: Create a New Zap
- Once logged in, click the “Make a Zap” button in the top right corner.
- Name your Zap something descriptive, like “Salesforce to Benchmark Email Integration.”
Step 3: Set Up the Trigger (Salesforce)
- Choose App & Event:
- Search for and select “Salesforce.”
- Choose the trigger event (e.g., “New Record” or “Updated Record”) that you want to use to start the workflow.
- Choose Account:
- Connect your Salesforce account to Zapier by logging in and granting access.
- Set Up Trigger:
- Customize the trigger by selecting the specific object (e.g., Contact, Lead) and any necessary filters.
- Test Trigger:
- Zapier will test the trigger by fetching a sample record from Salesforce.
Step 4: Set Up the Action (Benchmark Email)
- Choose App & Event:
- Search for and select “Benchmark Email.”
- Choose the action event (e.g., “Create Subscriber,” “Update Subscriber”) that you want Zapier to perform in Benchmark Email.
- Choose Account:
- Connect your Benchmark Email account to Zapier by logging in and granting access.
- Set Up Action:
- Customize the action by mapping Salesforce data fields to Benchmark Email fields. For example, map the Salesforce “Email” field to the Benchmark Email “Subscriber Email” field and map other relevant fields such as “First Name” and “Last Name.”
- Test Action:
- Zapier will test the action by sending a test subscriber to Benchmark Email to ensure the integration works correctly.
Step 5: Turn on the Zap
- Once both the trigger and action steps are set up and tested successfully, click the “Turn on Zap” button to turn on your Zap.
Step 6: Monitor and Maintain
- Check the Zapier dashboard to ensure your Zap is running smoothly.
- Monitor the integration for any errors or issues.
- Update the Zap if there are changes in your Salesforce or Benchmark Email setup.
Additional Tips
- Filtering and Conditions: Use Zapier’s built-in filters to add conditions. For example, subscribers can only be added to Benchmark Email if a Salesforce contact’s status is “Active.”
- Multi-Step Zaps: Add additional actions or conditions to create more complex workflows. For instance, you might want to update a Google Sheet or notify a Slack channel when a new subscriber is added.
- Zap Templates: Explore Zapier’s templates for pre-built integrations that can save time.
Integrating Benchmark Email with Salesforce can significantly enhance your email marketing efforts by automating campaigns, synchronizing data, and providing detailed analytics. You can ensure a smooth and effective integration process by following the best practices outlined in this article—such as cleaning your data, setting up the necessary permissions, and following a step-by-step integration guide. This powerful combination of tools will enable you to deliver more targeted, personalized, and successful email campaigns, ultimately driving better engagement and business results.

